There’s one more block that adds more shadows, then I will play around with some gradations using the same block set.
I still haven’t decided what to call this one. The working title is “floaters”, but there has to be something better!


There’s one more block that adds more shadows, then I will play around with some gradations using the same block set.
I still haven’t decided what to call this one. The working title is “floaters”, but there has to be something better!
It’s so much more pleasant to print on quality washi! This time I am using the Kizuki from Kitaro. I’m 4 impressions in at this point; here’s what the print looks like after 3. I did two impressions of the yellow to build the color and get a smoother tone.

I’ve done a few test prints of my current diversion, mainly to test out color combinations.

These colors are a bit pale, but they are on machine-made paper which is a little harder to coax color onto than the mulberry paper I’ll be using.
Next task is to fix a few registration near-misses.
Here’s the latest block set, hot off the carving bench!


It’s a bit of a departure. No key block, and carved on shina! I’m working on a quick print on A4 paper, for the Awagami International Miniature Print Exhibition. The print needs to be in Japan by July 31, and given how unpredictable mail can be these days, I think I need to allow a month for shipping. There’s NO WAY I can have the complicated Forest Rays print done, and besides, it won’t fit on A4. Hence, a temporary diversion.

Shina is quick to carve, and I had a ton of it laying around so I didn’t have to make new blocks. But shina has definite downsides. I’ve had the top ply come off of thin lines before. This piece was part of a fairly large area, so I am surprised it peeled off. I’m just glad I noticed, and saved the piece! I’ll be able to glue it down when the wood is dry.

How will colors combine on the paper? How can I achieve that particular shade I am looking for? Doing little experiments like this, on a sample of the paper I plan to use, is one way to find out.
We don’t get snow in Austin very often. Today there was rain predicted, with a chance of frozen precipitation later in the day. It started snowing midmorning! I took a picture a little later.


In all we got a couple of inches, very slushy. Nice day to stay inside carving!
I also did some thinking about how many blocks I will need. At this point it seems like 10 + the key block.

I’m very happy to have been selected by the kind folks at PrintAustin to participate this year in PrintExpo! Normally PrintExpo is an in-person affair held in a large hall where printmakers and printing collectives set up booths to show their work over a weekend, including an evening gala with adult beverages and the like. This year of course we can’t do that, so it’s going virtual. There will be a virtual conference on February 6, 2021, with more details to come about registration and content.
In conjunction with PrintExpo, I am working on a video demonstrating most of the steps in producing a print. I started recording content a few days ago! Here’s one setup:
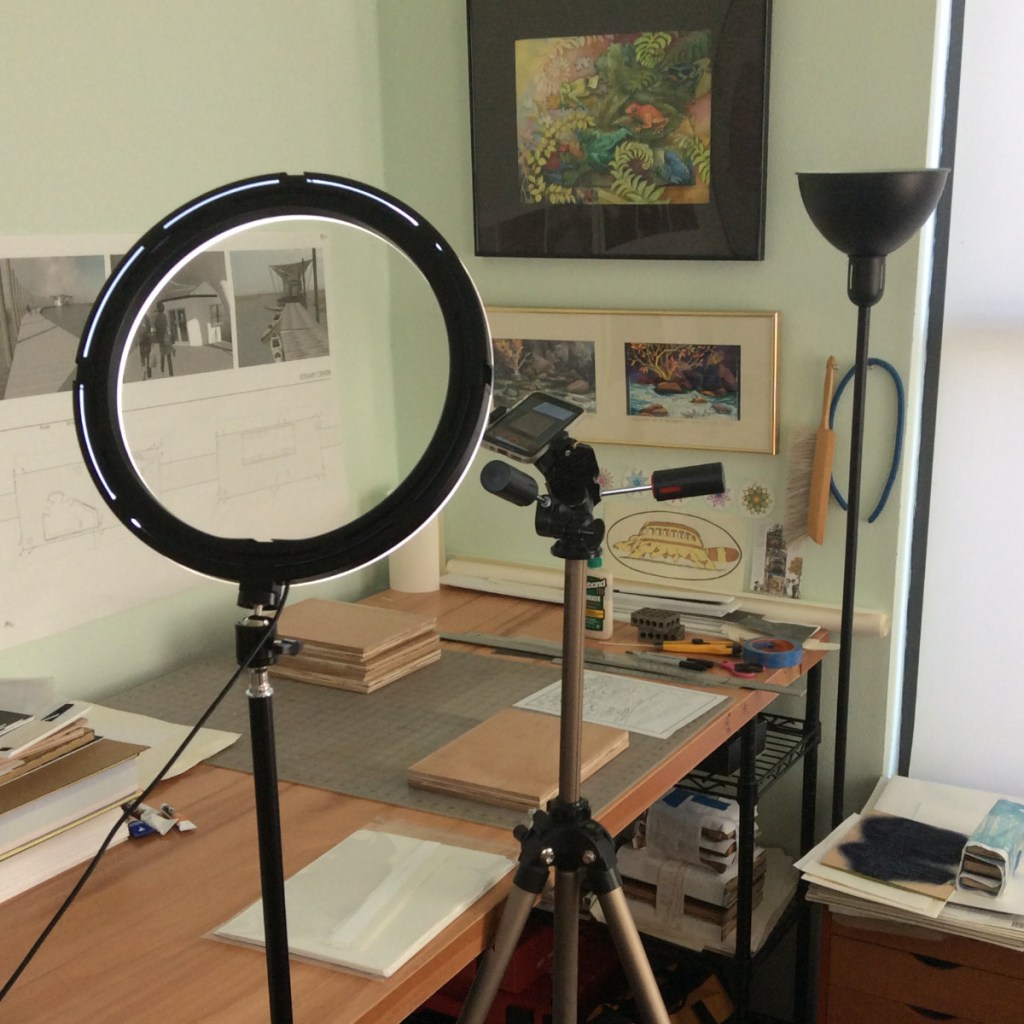
The phone makes pretty decent video, including audio that is clear without too much background noise and hiss. Watching myself on video shows me just how slowly I speak and how infrequently the words come out when I am thinking about something! Unfortunately I’m showing steps that aren’t reversible, so I can’t just do another take. I hope I’m able to edit the clips into a form that won’t drive viewers mad 😉
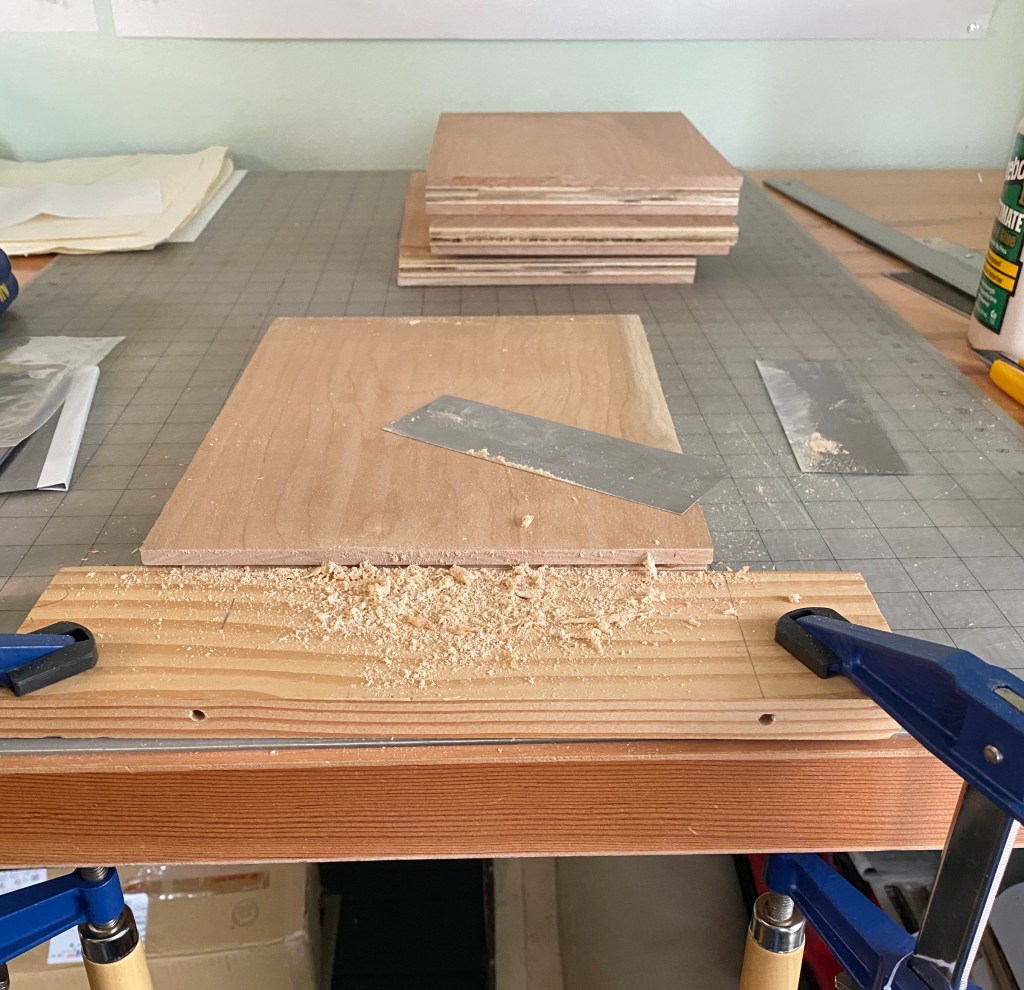
The video demo will start with making the blocks themselves from parts. This will be a pretty large print, the largest I have made using cherry blocks yet. The blocks are about 8″ x 10″. I used 1/4″ American Black Cherry thin lumber laminated to 1/2″ birch plywood with waterproof wood glue, then I used scrapers to get the surface of each block into shape.

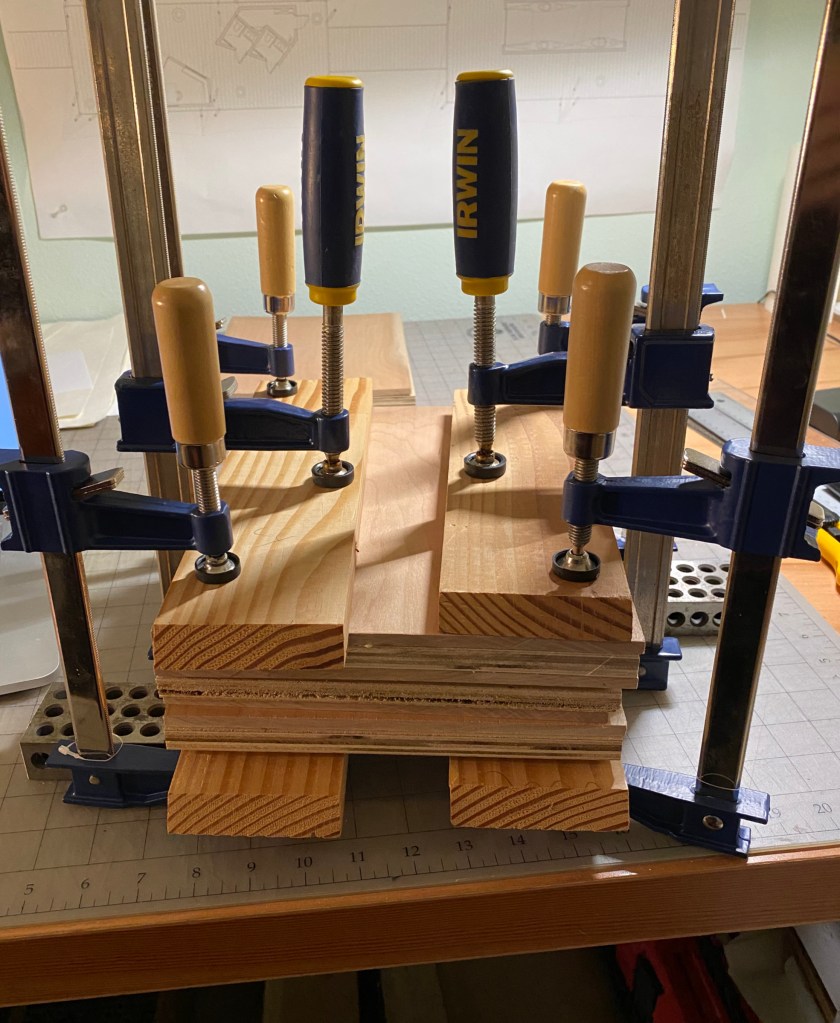
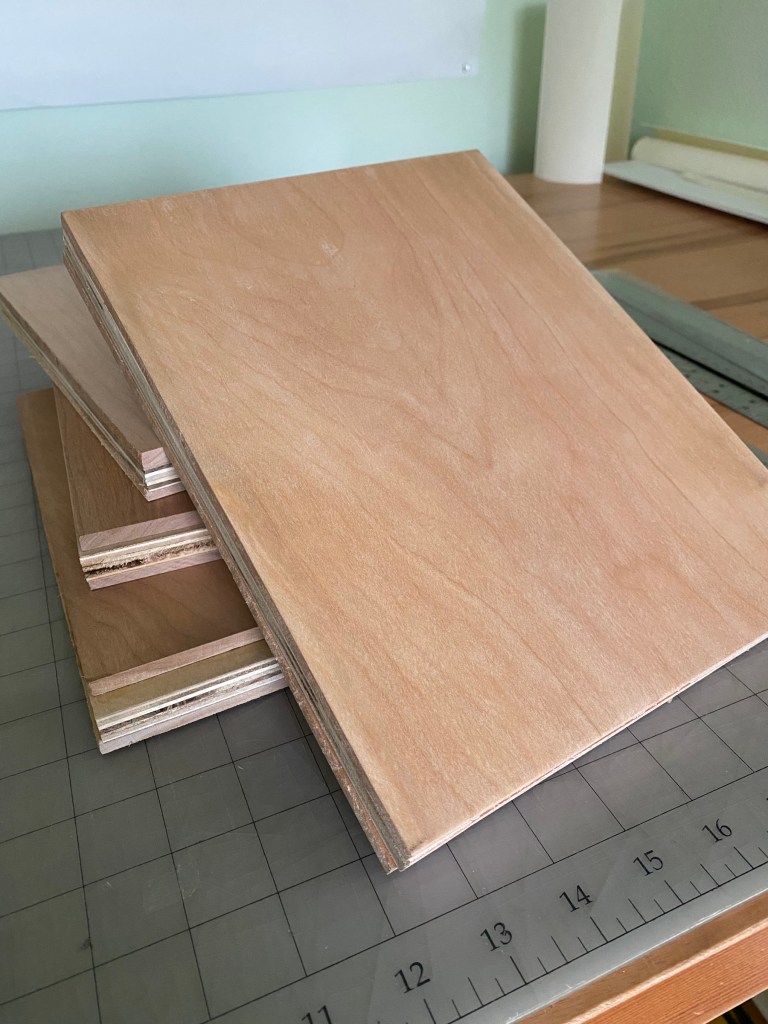
I’ve made 4 blocks, each double-sided, so I’ve got one for the key block and up to 7 color blocks. If that turns out to be too few, I can make more, or just use shina ply if the color designs are uncomplicated.
Time is running short for online gift shopping, but if you are local (in Austin TX) I might be able to help if you’d like to give a print. Please use the contact form to ask about local print delivery.
The other day on David Bull’s Twitch live-stream, Dave had a guest who is studying woodblock carving with Motoharu Asaka. The guest had brought his box of carving tools, a nice clear-ish plastic latching container. It was highly organized, with a little slot for every tool, arranged by type and size. Dave showed his, which was an open, beat-up cardboard box with tools jumbled inside, sufficient for keeping the tools from rolling off the carving desk.
To be fair, the nice latching case is almost a necessity for someone who has to carry tools from one location to another. Dave carves on his own bench, and doesn’t need to take them anyplace else, so an open box is all he needs.
I guess I should show mine!
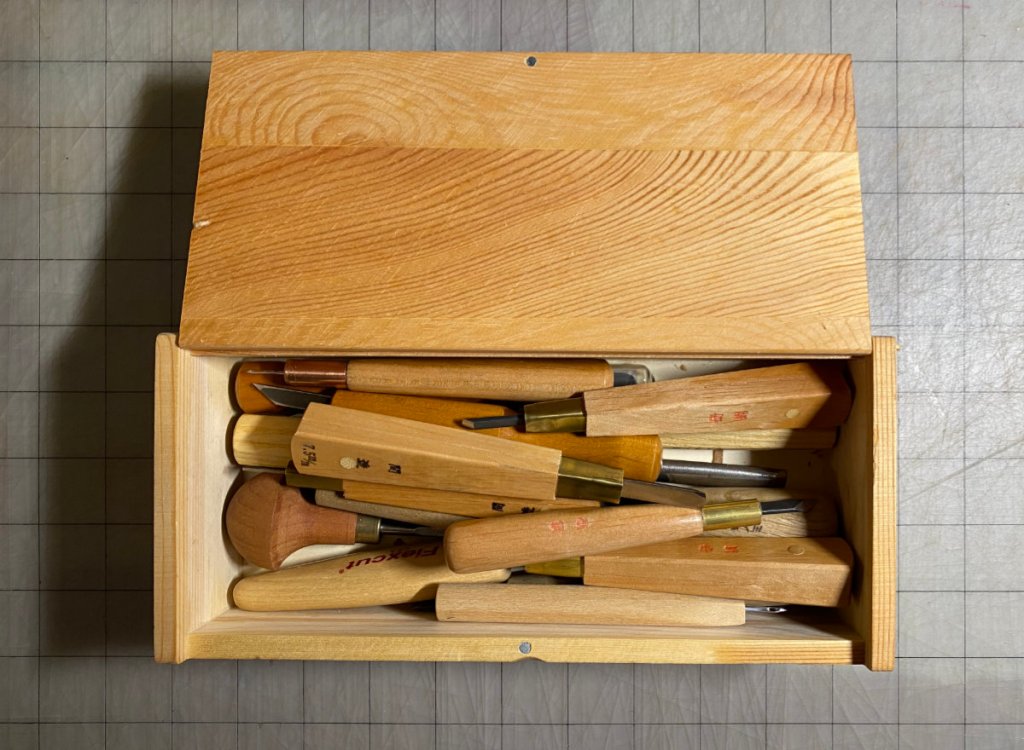
I had the cardboard box for awhile but got tired of it. Plus it was a little too short. If I needed to take tools on a trip, I might put them in a closed cardboard box! This one is probably too fragile for travel, but it makes me happy.
Here are the tools I use the most, ordered approximately by how often I use them.
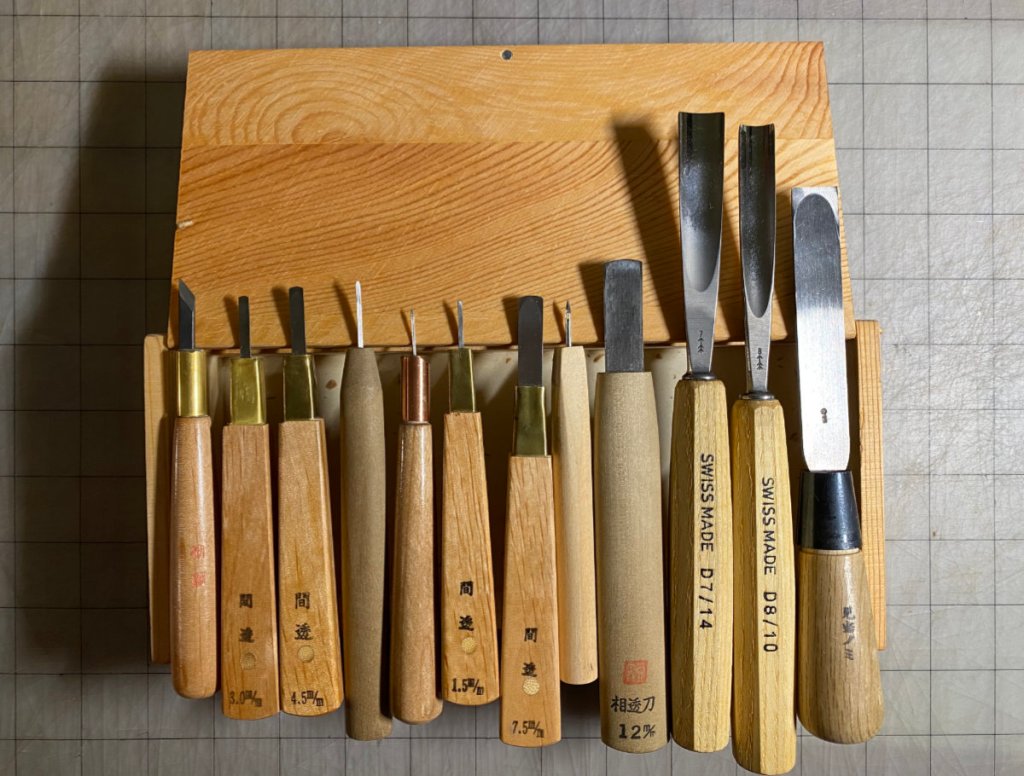
The one on the left is the knife. I have a larger knife, which I used for a couple of years, but then I got the smaller one which I like better. The one on the right is the kento-nomi, a chisel (nomi) with just one job: making registration marks (kento). I use the U-gouges immediately to its left for clearing large areas of unwanted wood. (I don’t know if the U-gouges are designed for tapping with a mallet, but that is what I do with these, gently. I don’t use a mallet with any of these other tools!) Most of the tools in between are aisuki (間透き), or bullnose chisels. These are used for clearing out areas of wood of varying size between knife cuts.
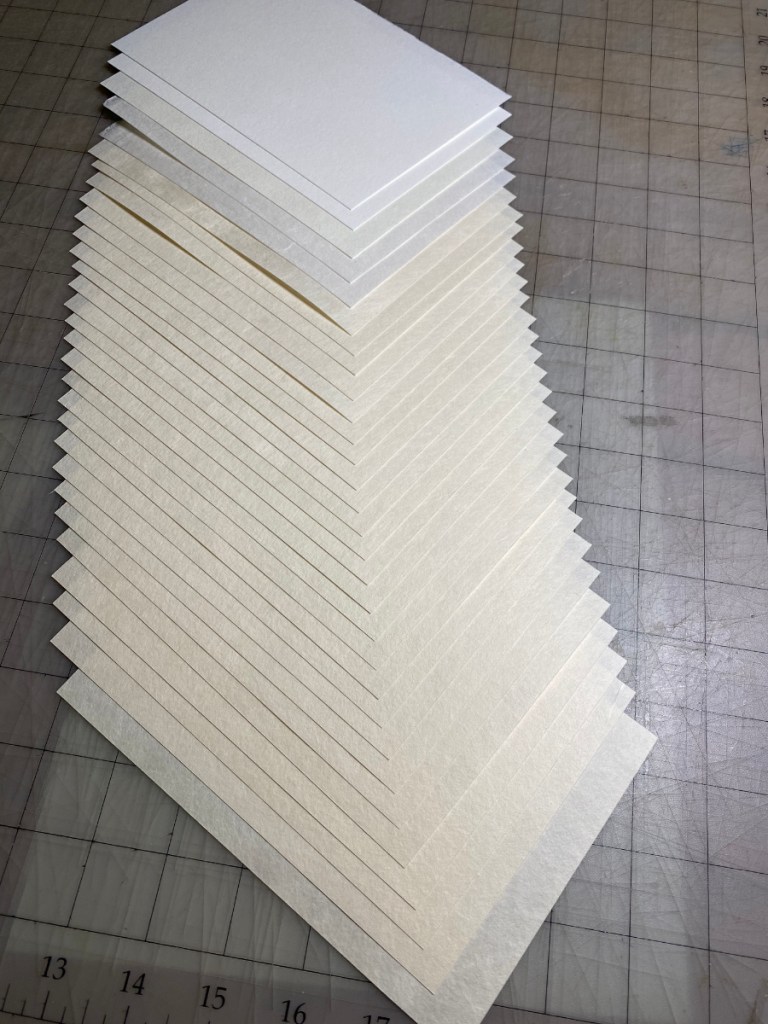
Here’s the paper I will use for the current print. I’ve got 25 pieces of Kitaro’s Kizuki, and 5 pieces of a few other kinds I had lying around that I will use for testing. Because this is a really small print, I picked a sheet of the Kizuki that was on the thin side. It’s a completely handmade product, and there’s actually noticeable variation in the thickness.

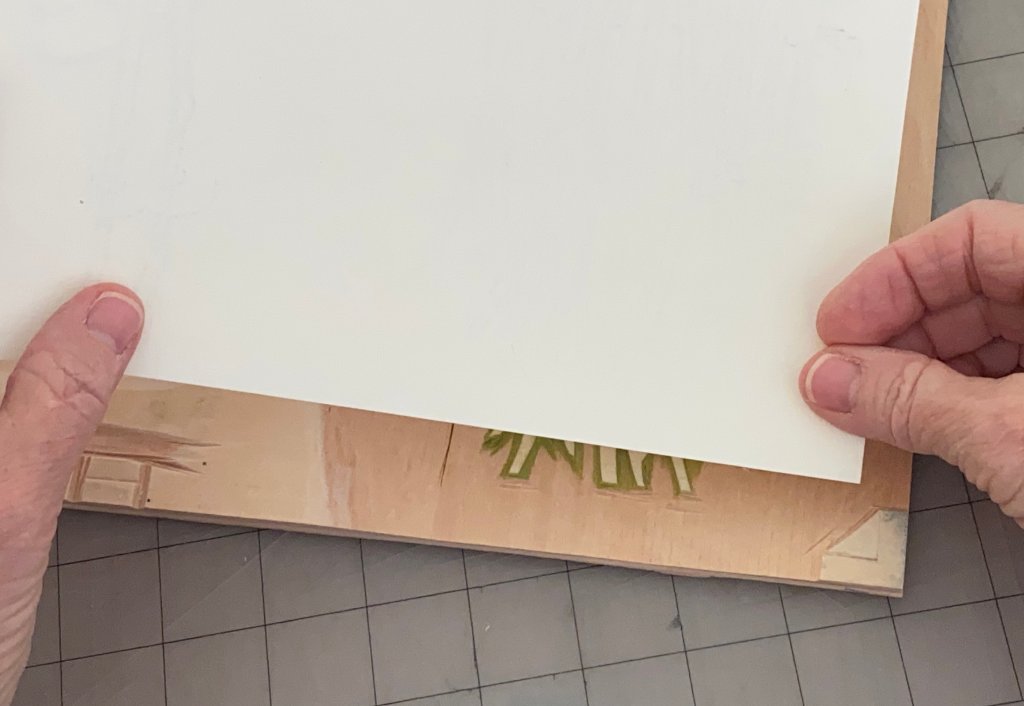
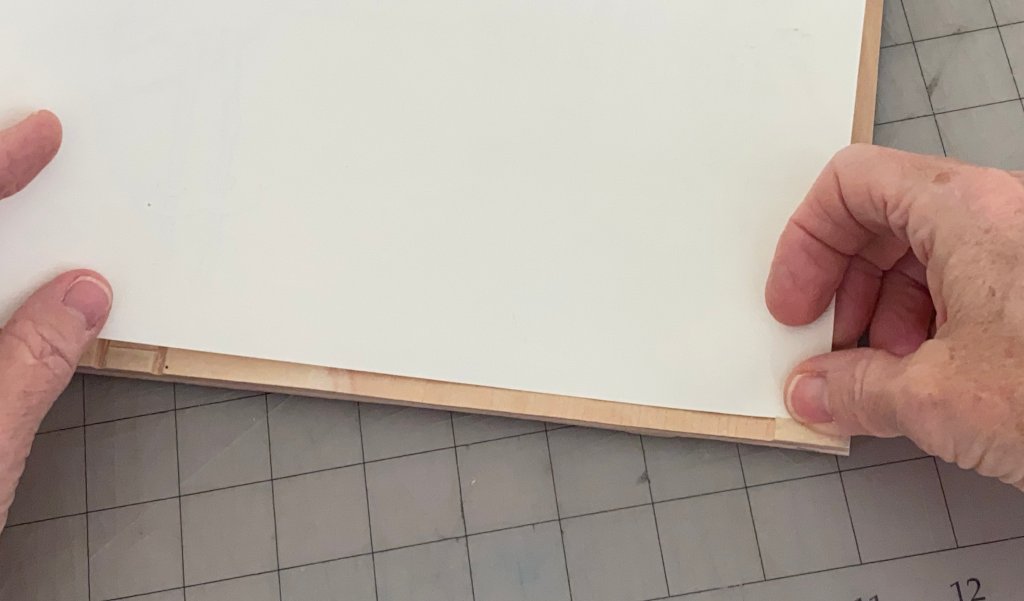
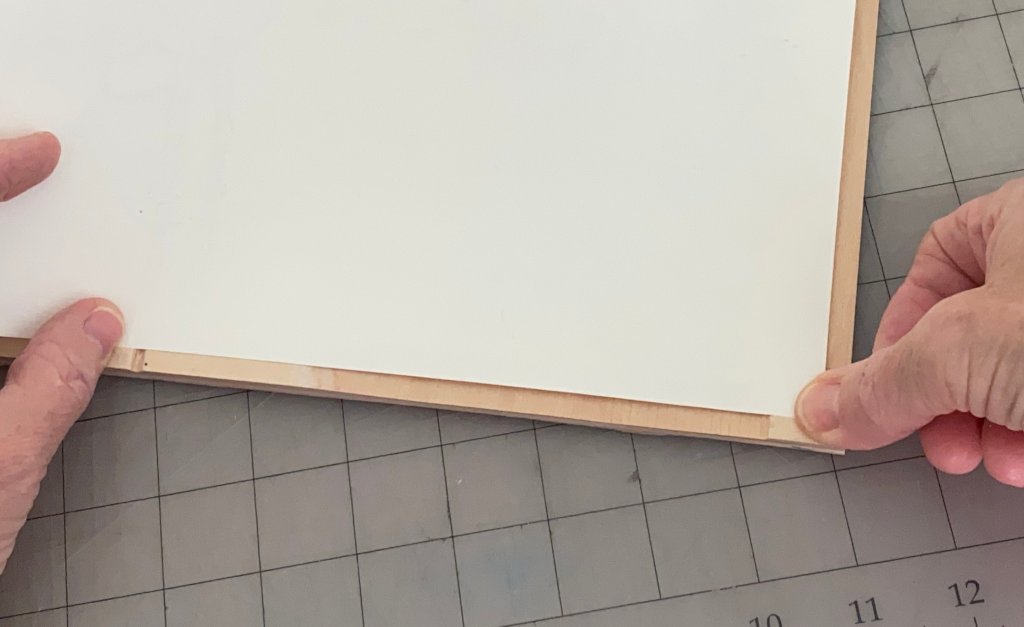
I’m applying a small dot of clear nail polish to one corner – the corner that will be inserted into the corner kento (registration notch) – of each piece of paper. This is a trick I learned from the printers at Mokuhankan. For a simple print with only one or two impressions it wouldn’t be that important, but reinforcing this corner prevents it from wearing and changing shape with repeated impressions. That way it’s possible to get precise registration every time.
Here’s how the paper is placed when printing. I’m demonstrating with a block for a different print. First the corner is inserted into the corner notch on the right, then it’s placed against the little ledge on the bottom left, then laid flat on the block. It’s not necessary to reinforce the edge on the bottom left, but the corner can easily wear if it’s not strengthened!