Test printing – brief report

Forest Rays

I’m in my 4th round of test printing for the Forest Rays project. It’s been a bit of a struggle, mostly because there are so many areas to print – 11 wood faces, 18 printable areas, 18 sets of registration marks, and lots of areas that overlap so they get printed multiple times.

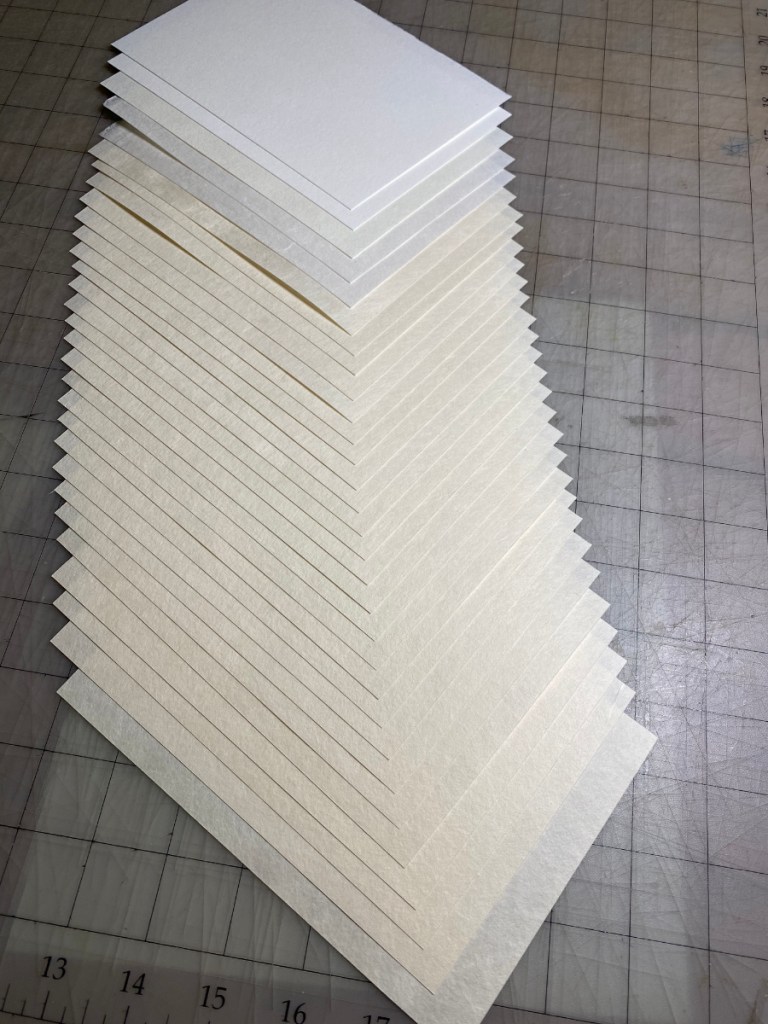
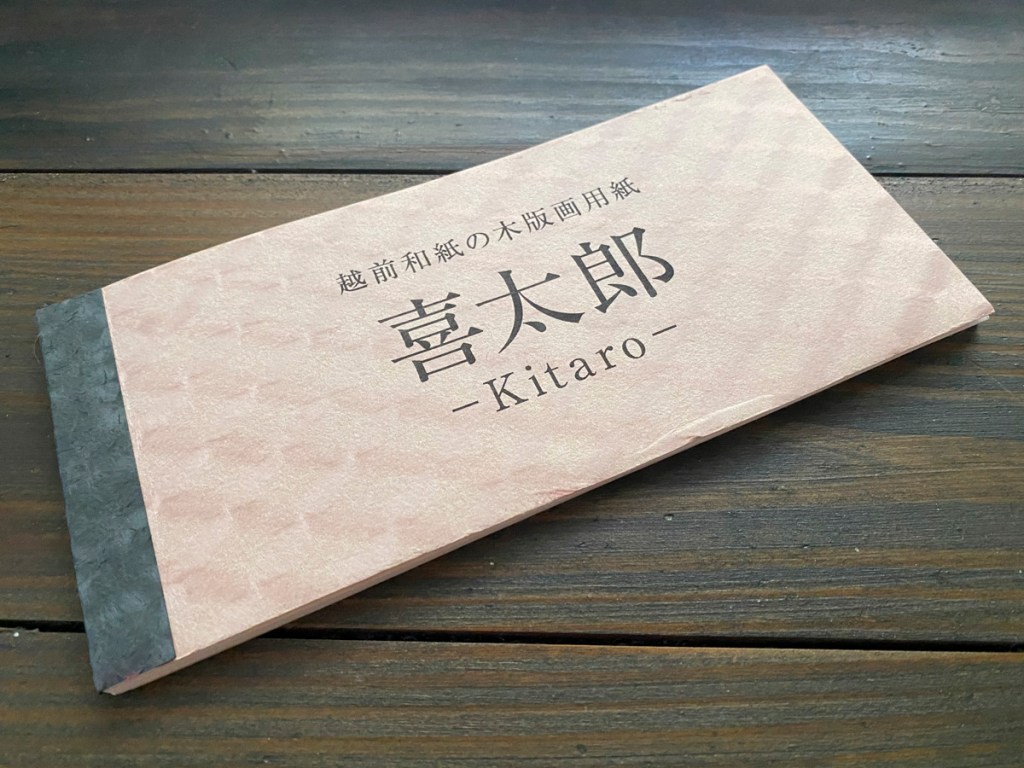
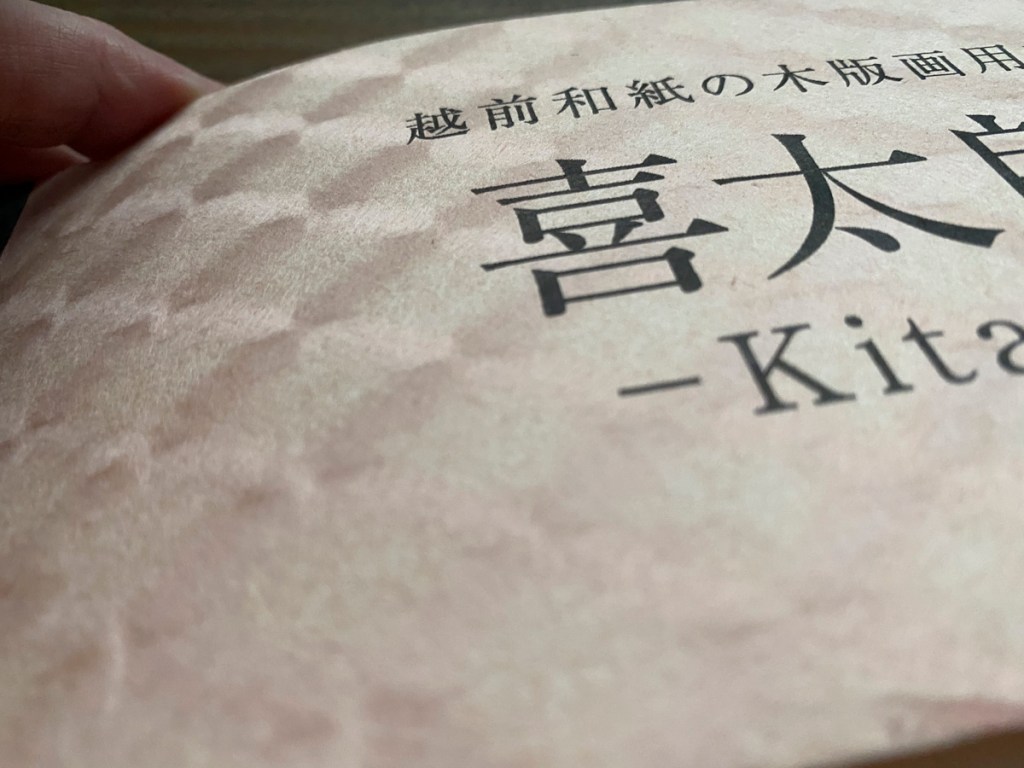
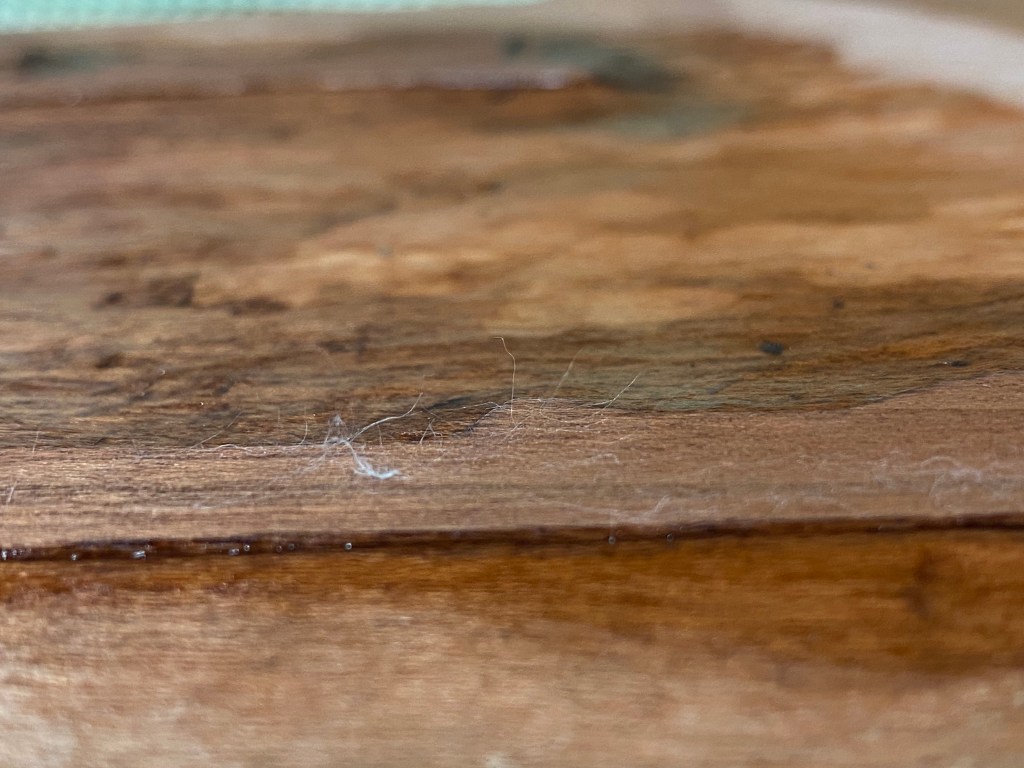
I recently received some “Student Kozo” paper from Kitaro, and with some hope, am using it for this round of testing. Unfortunately it’s weak and floppy when damp, and seems to shrink and swell more than I’d like. And more frustrating for testing this particular print, when an area gets more than one or two impressions, fibers start to separate from the face of the paper; you can see that below.

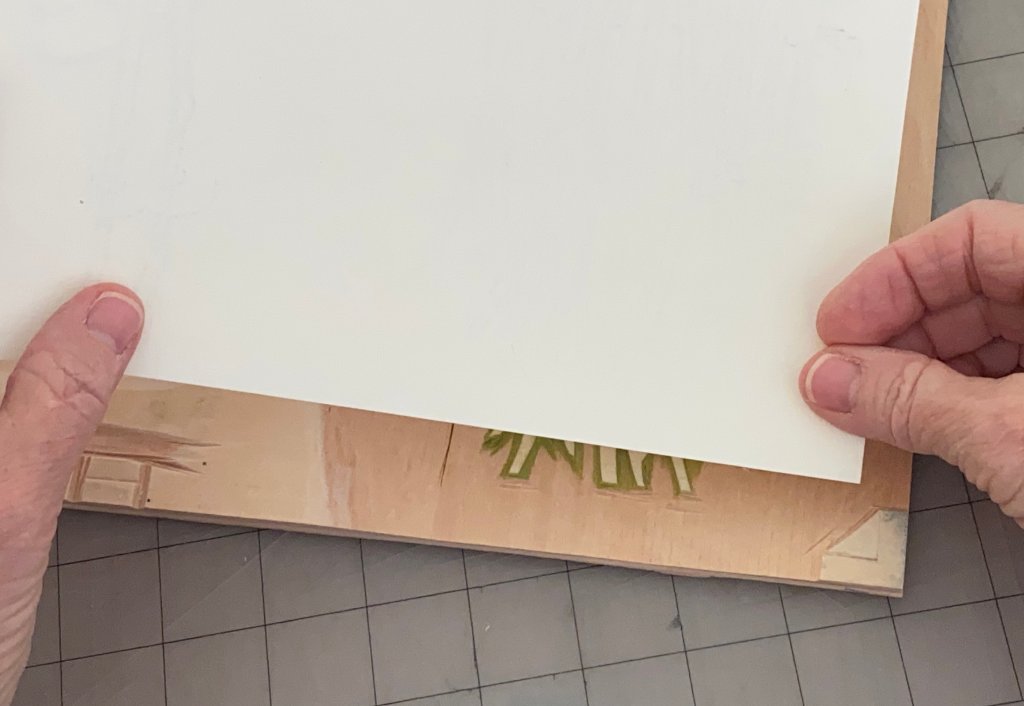
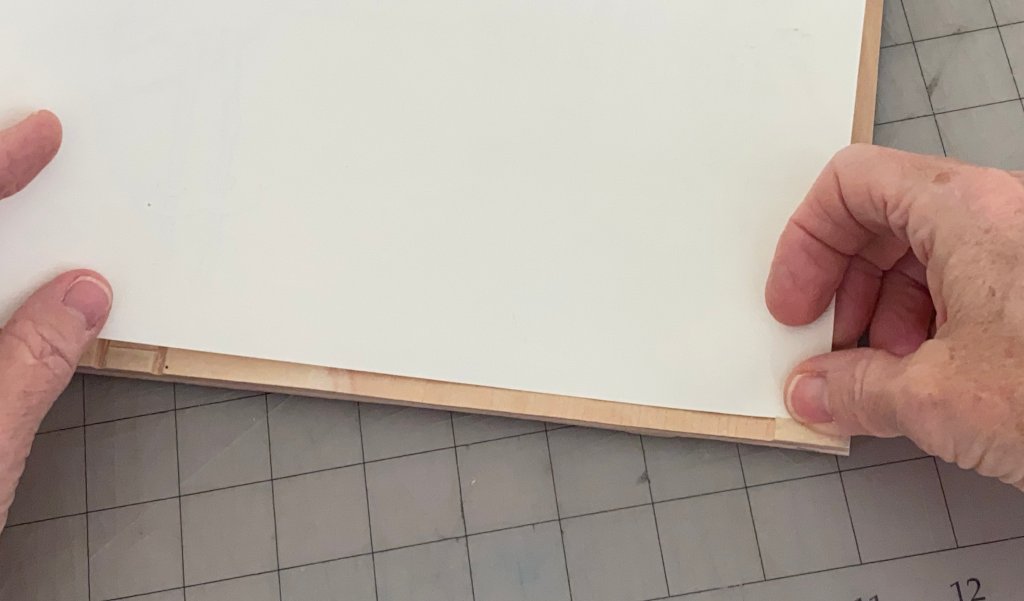
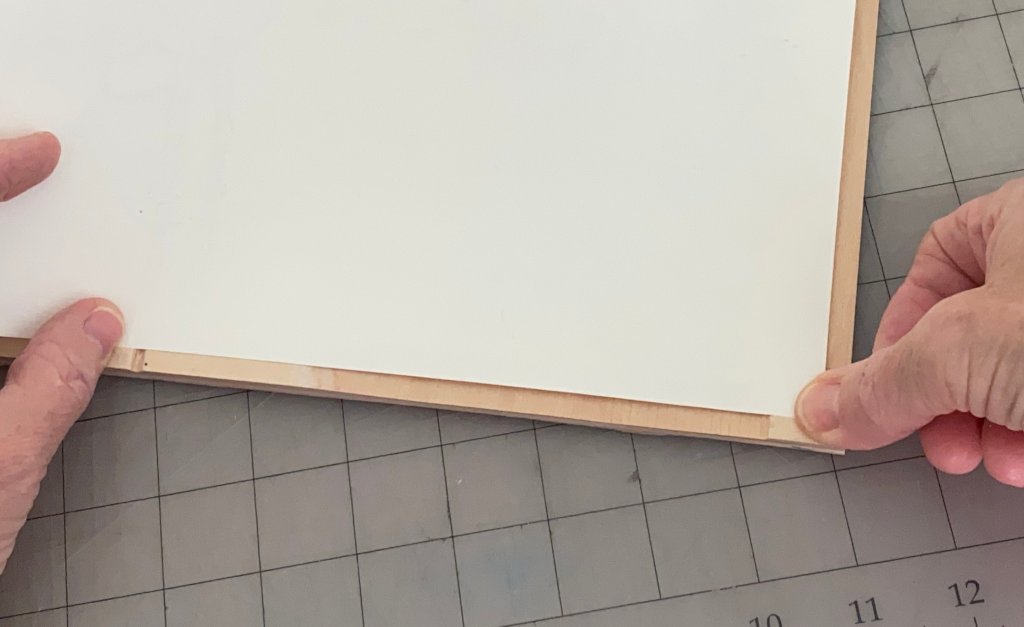
I’m plowing forward despite the frustrations, and am succeeding at my aim to get more pigment onto the prints! Pretty soon though, I need to just take the plunge and actually print the things. I have a stack of Shin Hosho from Wood Like Matsumura set aside for this one; that paper is pretty tough!

I wonder if I might be able to add more sizing to this paper to toughen it up and be able to have less trouble testing prints that have lots of overlays. At any rate, it’s pretty nice for the price, so I can use it for simple prints without many overlapping colors.

Paper preparation

Uncategorized

Here’s the paper I will use for the current print. I’ve got 25 pieces of Kitaro’s Kizuki, and 5 pieces of a few other kinds I had lying around that I will use for testing. Because this is a really small print, I picked a sheet of the Kizuki that was on the thin side. It’s a completely handmade product, and there’s actually noticeable variation in the thickness.

I’m applying a small dot of clear nail polish to one corner – the corner that will be inserted into the corner kento (registration notch) – of each piece of paper. This is a trick I learned from the printers at Mokuhankan. For a simple print with only one or two impressions it wouldn’t be that important, but reinforcing this corner prevents it from wearing and changing shape with repeated impressions. That way it’s possible to get precise registration every time.

Here’s how the paper is placed when printing. I’m demonstrating with a block for a different print. First the corner is inserted into the corner notch on the right, then it’s placed against the little ledge on the bottom left, then laid flat on the block. It’s not necessary to reinforce the edge on the bottom left, but the corner can easily wear if it’s not strengthened!

Almost oops!

Uncategorized

Some time ago, before the plague times, I ordered and received some very nice washi from a papermaker in Echizen. It’s really lovely, smooth, good weight, 100% kozo, and ALREADY SIZED! I am looking forward to EMS shipping starting up from Japan again so I can order some more. What I received was a very high quality product, clean and uniform in texture and sizing.

My coworker, Corax the black cat, really enjoyed playing in the box. He’d get in, and scratch scratch tap tap. Hours of entertainment. I finally got around to flattening the box and putting it in recycling. But wait — what’s that? There was something taped to the bottom with that typical Japanese brown fabric-reinforced tape, wrapped in brown paper the same color as the surrounding cardboard. I’m glad I noticed! It was a sample book.

This is a pretty fancy sample book.

The paper on the cover has some really interesting iridescent patterning, and when you let light shine through it, it looks like the fibers that provide the pattern are denser than the rest.

At the end of the booklet was another price list (same prices), on a paper that has another interesting pattern of iridescence. And that’s the back of the booklet, with their contact info.

I’m looking forward to getting some more of this paper!

Light Show is drying

Uncategorized

Here they are! This makes it look like there are a lot of them. I guess there are; there are more than can be seen in one of these views 😉

I made 19 on Echizen Kozo, three on practice paper, and 3 on the Kizuki Hosho I recently got from Kitaro paper. The Kitaro paper is a little more off-white; one of the sheets is the lower-right-most in the right-side image below.

After drying a little in open air, they will be pressed between mat boards to finish drying flat. Then I will take a serious look. I’m hopeful that once they are dry the Echizen Kozo will be a little tougher than when it was damp.

If you are wondering what’s on the far wall…

Reprinting “Frustration”

Uncategorized

That’s actually the title of the heron print, not any mood I’m in from doing another round of prints! Poor heron, he would love a nice steak, but only has fish at hand. Too bad he wasn’t at the 4th of July gathering I attended recently!

So yes, I am now printing “Frustration” on A4 washi for the Awagami International Miniature Print Exhibition (http://miniprint.awagami.jp/index.html). I’ve thrown a variety of papers into this run, in addition to the Echizen Kozo I hope to submit on, some of them from the sample pack that the Awagami Factory sent to the first applicants to the show. Hakuho Select: This paper is super thick, and even with strong pressure still I can’t overcome the texture on the smooth side to get an even impression. Maybe if I was printing with a steamroller… Bamboo Select: Wow, every impression has resulted in a smooth color distribution. The fiber content is really non-traditional, though. Kozo Natural Select and Kozo Extra Thick Natural: It’s not clear whether these papers are sized. The info sheet in the sample pack lists sizing as 0, but they don’t really behave as unsized papers. They are really thin, and printing on the Kozo Natural Select is like printing on tissue paper! But it may actually yield a real print.

The other papers I’m using are my go-to Shin Torinoko machine made paper from McClain’s, and the aforementioned Echizen Kozo. The Echizen Kozo is a fluffy, luminous paper with a large capacity for pigment. Check out the nice embossing of the current state of the new heron print:

As you might recall, I carved the blocks for this print without registration marks, and used an outside kento. This time, because there is such a huge margin between the printed surface and paper edge, I’ve had to get creative with the registration jig:

One final update … I splurged and got a real baren!

I ordered it from Woodlike Matsumura (https://wx30.wadax.ne.jp/~woodlike-co-jp/zen4/) and it showed up in 4 days, despite the month lead time. It came from http://www.scn-net.ne.jp/~kikuhide according to included literature. So far, it has served me well. It seems more predictable and reliable than the last couple of cheaper baren I have used.