Tool boxes

Uncategorized

The other day on David Bull’s Twitch live-stream, Dave had a guest who is studying woodblock carving with Motoharu Asaka. The guest had brought his box of carving tools, a nice clear-ish plastic latching container. It was highly organized, with a little slot for every tool, arranged by type and size. Dave showed his, which was an open, beat-up cardboard box with tools jumbled inside, sufficient for keeping the tools from rolling off the carving desk.

To be fair, the nice latching case is almost a necessity for someone who has to carry tools from one location to another. Dave carves on his own bench, and doesn’t need to take them anyplace else, so an open box is all he needs.

I guess I should show mine!

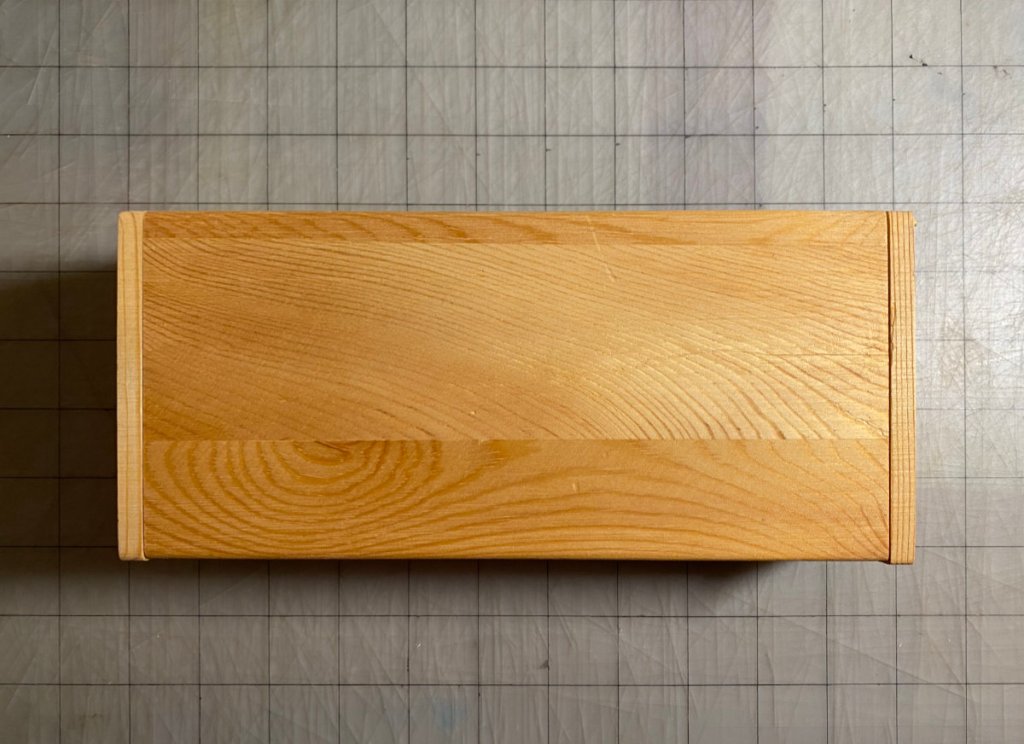
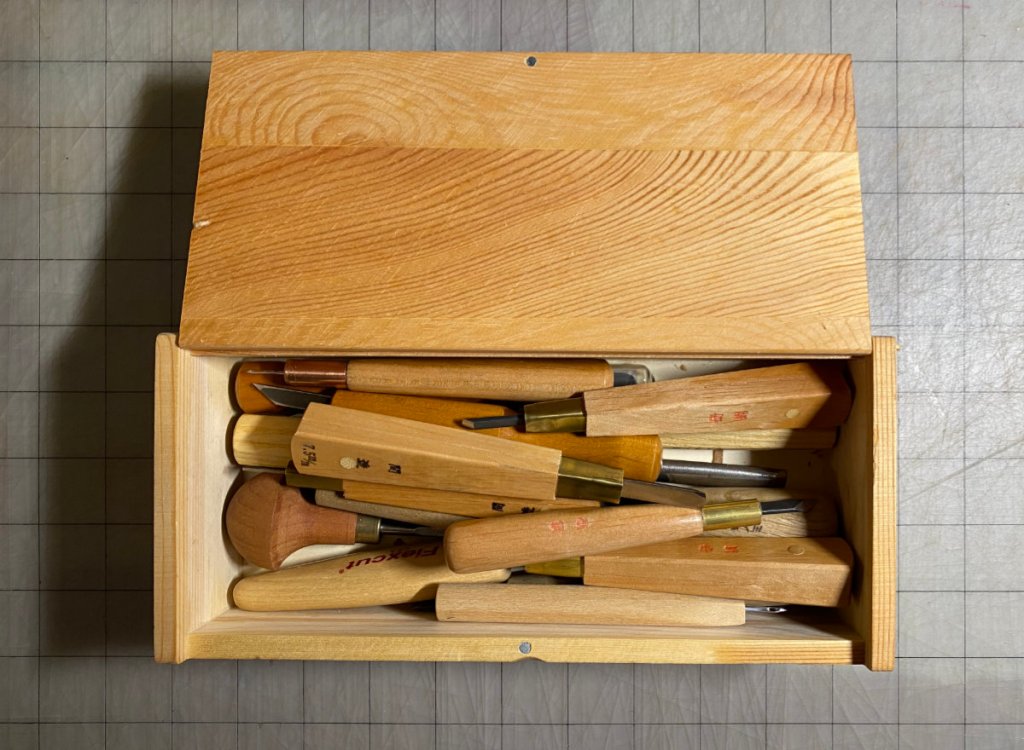
I had the cardboard box for awhile but got tired of it. Plus it was a little too short. If I needed to take tools on a trip, I might put them in a closed cardboard box! This one is probably too fragile for travel, but it makes me happy.

Here are the tools I use the most, ordered approximately by how often I use them.

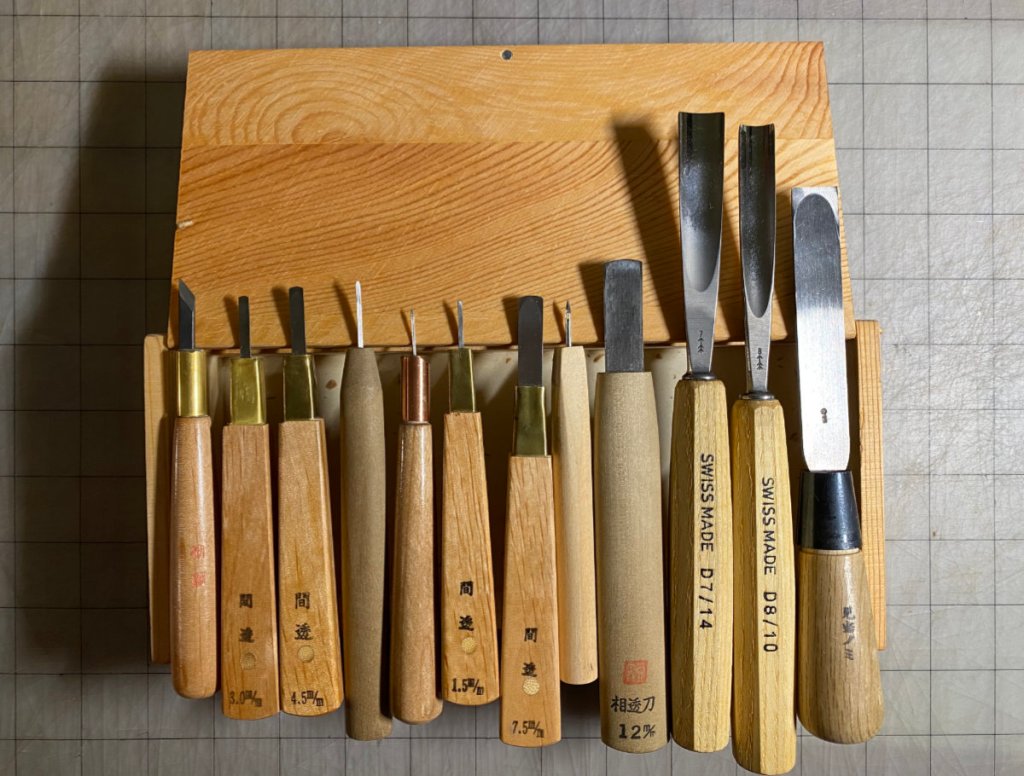
The one on the left is the knife. I have a larger knife, which I used for a couple of years, but then I got the smaller one which I like better. The one on the right is the kento-nomi, a chisel (nomi) with just one job: making registration marks (kento). I use the U-gouges immediately to its left for clearing large areas of unwanted wood. (I don’t know if the U-gouges are designed for tapping with a mallet, but that is what I do with these, gently. I don’t use a mallet with any of these other tools!) Most of the tools in between are aisuki (間透き), or bullnose chisels. These are used for clearing out areas of wood of varying size between knife cuts.

Paper preparation

Uncategorized

Here’s the paper I will use for the current print. I’ve got 25 pieces of Kitaro’s Kizuki, and 5 pieces of a few other kinds I had lying around that I will use for testing. Because this is a really small print, I picked a sheet of the Kizuki that was on the thin side. It’s a completely handmade product, and there’s actually noticeable variation in the thickness.

I’m applying a small dot of clear nail polish to one corner – the corner that will be inserted into the corner kento (registration notch) – of each piece of paper. This is a trick I learned from the printers at Mokuhankan. For a simple print with only one or two impressions it wouldn’t be that important, but reinforcing this corner prevents it from wearing and changing shape with repeated impressions. That way it’s possible to get precise registration every time.

Here’s how the paper is placed when printing. I’m demonstrating with a block for a different print. First the corner is inserted into the corner notch on the right, then it’s placed against the little ledge on the bottom left, then laid flat on the block. It’s not necessary to reinforce the edge on the bottom left, but the corner can easily wear if it’s not strengthened!

Fun with registration

Uncategorized

Looking back at my test prints, I see there are some registration problems with the green block. In the left image, there is green that sticks up too far, onto the top of a rock that should be mostly white. And on the right, there are some areas of green that extend past the border.

To address this, I used some micro-lumber (HO scale 2×4, I believe) I had laying around from a previous life as an architecture student. I tacked it in lightly with water-soluble glue, in case it didn’t work out.

Wellll, this did not work out so well. I don’t have a picture, but in the test after that, it was clear that not only was this change in the kento not enough to fix the problems, it introduced problems elsewhere — a margin of unprinted area just beneath many of the lines that delineate green areas like the trees.

So, the registration needed to be fixed with a knife. This was more successful!

Heron Project setup stuff

Uncategorized

I use the same surface for drawing that I do for carving, and I can’t really put a hole through it, so here is my bench dog solution. I opted for holes at the edge where they won’t interfere with the drawing surface. For now, at least, since I don’t think I have to use much force when clearing large areas of waste, this will work.

Here’s the outside kento I built for the heron print. The blocks vary in thickness, so I have to prop some of them up. I used a chunk of yellow pine to make the registration block on the bottom, and boy is it hard!