Here’s the latest block set, hot off the carving bench!
It’s a bit of a departure. No key block, and carved on shina! I’m working on a quick print on A4 paper, for the Awagami International Miniature Print Exhibition. The print needs to be in Japan by July 31, and given how unpredictable mail can be these days, I think I need to allow a month for shipping. There’s NO WAY I can have the complicated Forest Rays print done, and besides, it won’t fit on A4. Hence, a temporary diversion.
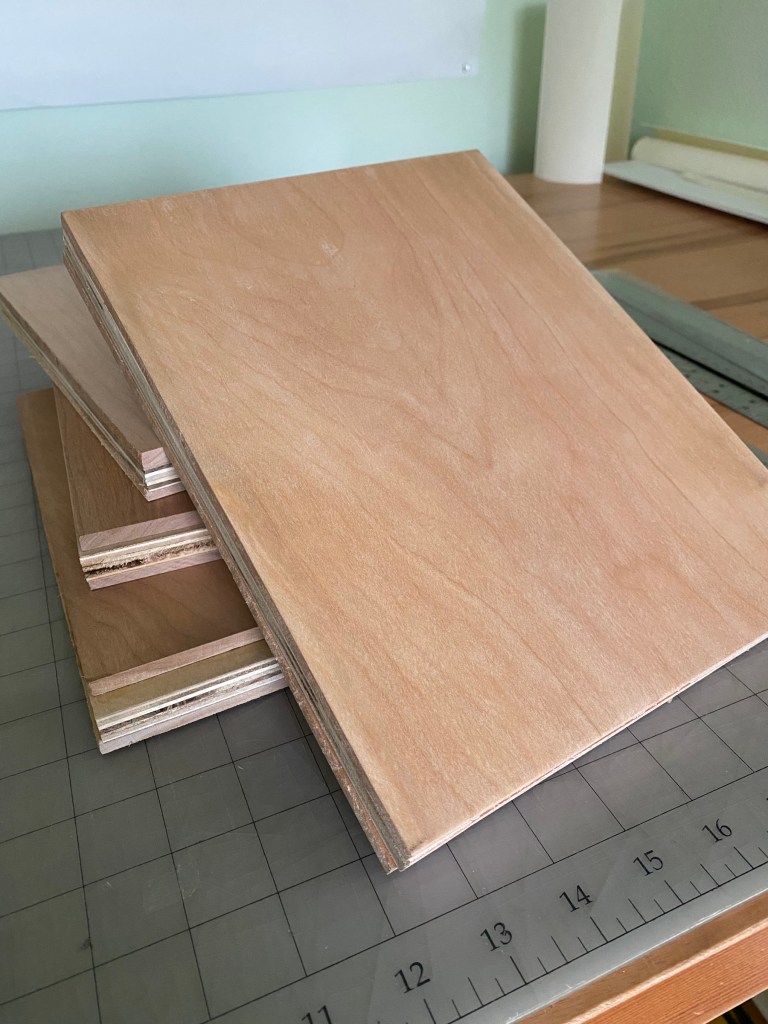
Shina is quick to carve, and I had a ton of it laying around so I didn’t have to make new blocks. But shina has definite downsides. I’ve had the top ply come off of thin lines before. This piece was part of a fairly large area, so I am surprised it peeled off. I’m just glad I noticed, and saved the piece! I’ll be able to glue it down when the wood is dry.
When I made the plan for how to put the colors on the blocks, it seemed obvious that by rotating one of these 180 degrees, I could fit both of them on the same block:
It turns out it was not that straightforward! When I lined the two transfers up with a light board, to make sure they would both fit on the block without interfering with each other’s registration marks, I ended up with this situation. If I place one of the transfers at the position of the normal corner registration mark (red circle, upper left), the registration corner of the OTHER transfer sheet is hanging out in space (green circle, lower right). So without special provisions, I can’t fit them onto the same piece of cherry.
You can already see the solution (or part of it) in the image above. By gluing the cherry to a larger piece of plywood, and using small pieces of cherry strategically placed, I’m able to move the registration cuts out to locations that will let me place both colors on the same block:
I’m now ready for the first test-printing of the key block for what I am calling “forest rays.”
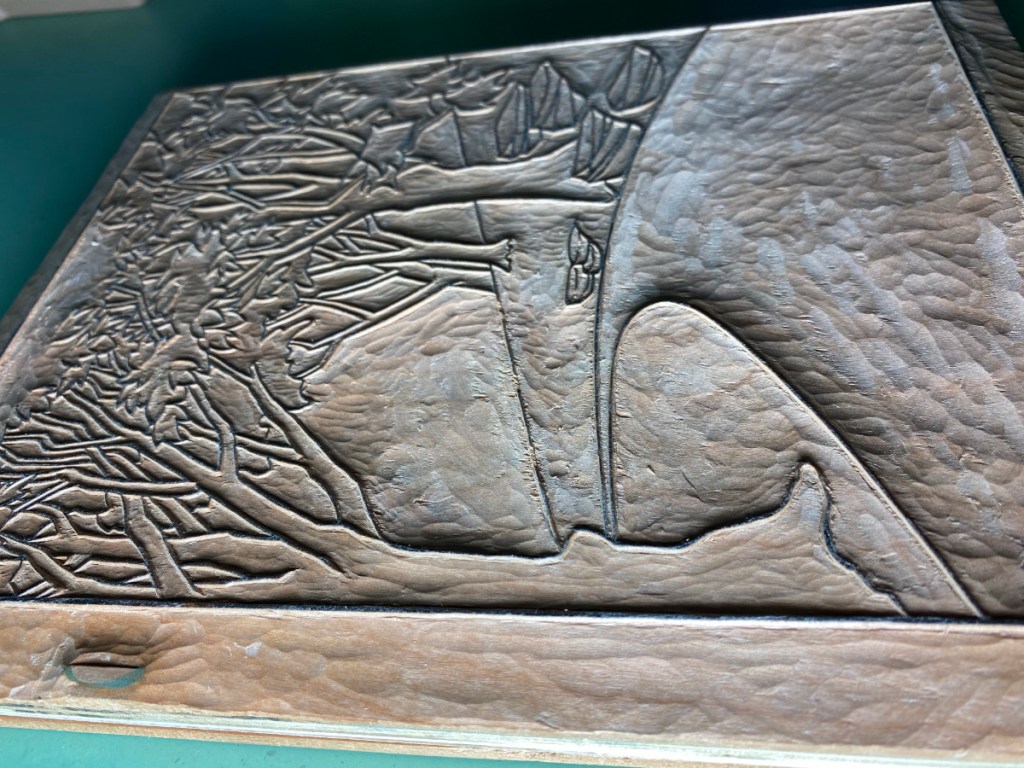
This block took some time to carve! Carving is not my full-time job, and indeed I don’t think I spent more than 3 or 4 hours a day working on this block (and usually only an hour or so). I started on January 2, and now am (mostly!) done 3 weeks later. I say “mostly” because test printing will no doubt reveal that some adjustments are in order! Either I forgot to clear a spot, or there is a splinter sticking up, or I need to deepen some of the valleys because they are shallow enough to to let the paper touch, which would risk getting pigment in unwanted areas.
I included the “dramatic lighting” shot on the right to try to further illustrate how deep I’ve carved. The general rule is, the bigger the area of clear space, the deeper the valley needs to be. Paper won’t sag very deeply when the adjacent lines are close together.
Getting pretty close to finishing the first block! The picture doesn’t show it, but there are some large areas that still need to be cleared. After that, I’ll do some testing/tweaking, and finalize plans for the color blocks.
It took me awhile – about a month! – to work out the design for my next print. Here’s a little cartoon preview; the final print probably won’t look anything like this, but I hope to capture the same (or better and more mystical!) mood. I’m satisfied enough, though, to move forward with drawing and cutting key lines.
The path was long – I started with a pencil sketch, then imported into a drawing program and did a few vector versions so I could test out color/shading variations, then traced a couple of times before being happy with the lines. Above is the finished line work, and how it appears after transferring to the block, plus the first day’s carving.
There are lots of lines here! Some of them are not going to be part of the key block, but will be saved as other transfer sheets that I will use later when I carve color blocks for regions that won’t have outlines, such as the areas of light and shadow on the path.
I’m very happy to have been selected by the kind folks at PrintAustin to participate this year in PrintExpo! Normally PrintExpo is an in-person affair held in a large hall where printmakers and printing collectives set up booths to show their work over a weekend, including an evening gala with adult beverages and the like. This year of course we can’t do that, so it’s going virtual. There will be a virtual conference on February 6, 2021, with more details to come about registration and content.
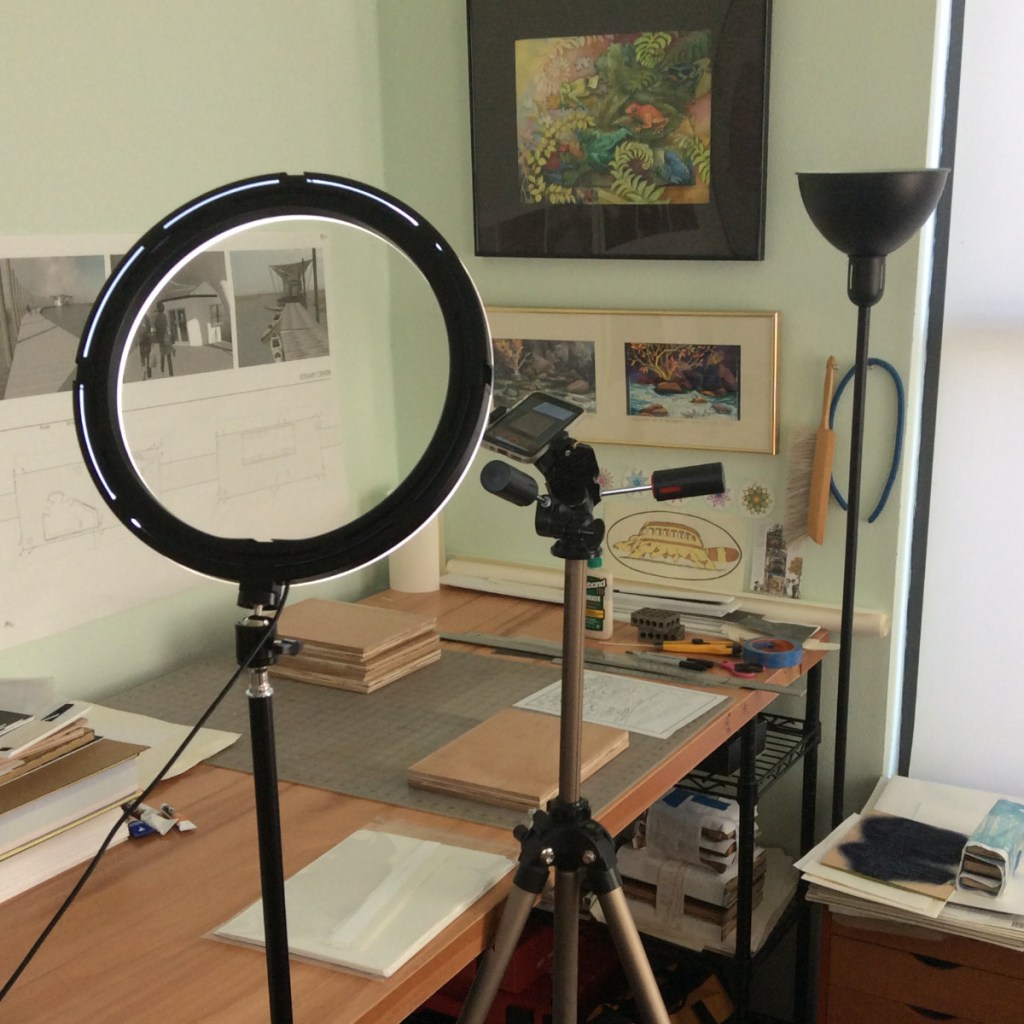
In conjunction with PrintExpo, I am working on a video demonstrating most of the steps in producing a print. I started recording content a few days ago! Here’s one setup:
The phone makes pretty decent video, including audio that is clear without too much background noise and hiss. Watching myself on video shows me just how slowly I speak and how infrequently the words come out when I am thinking about something! Unfortunately I’m showing steps that aren’t reversible, so I can’t just do another take. I hope I’m able to edit the clips into a form that won’t drive viewers mad 😉
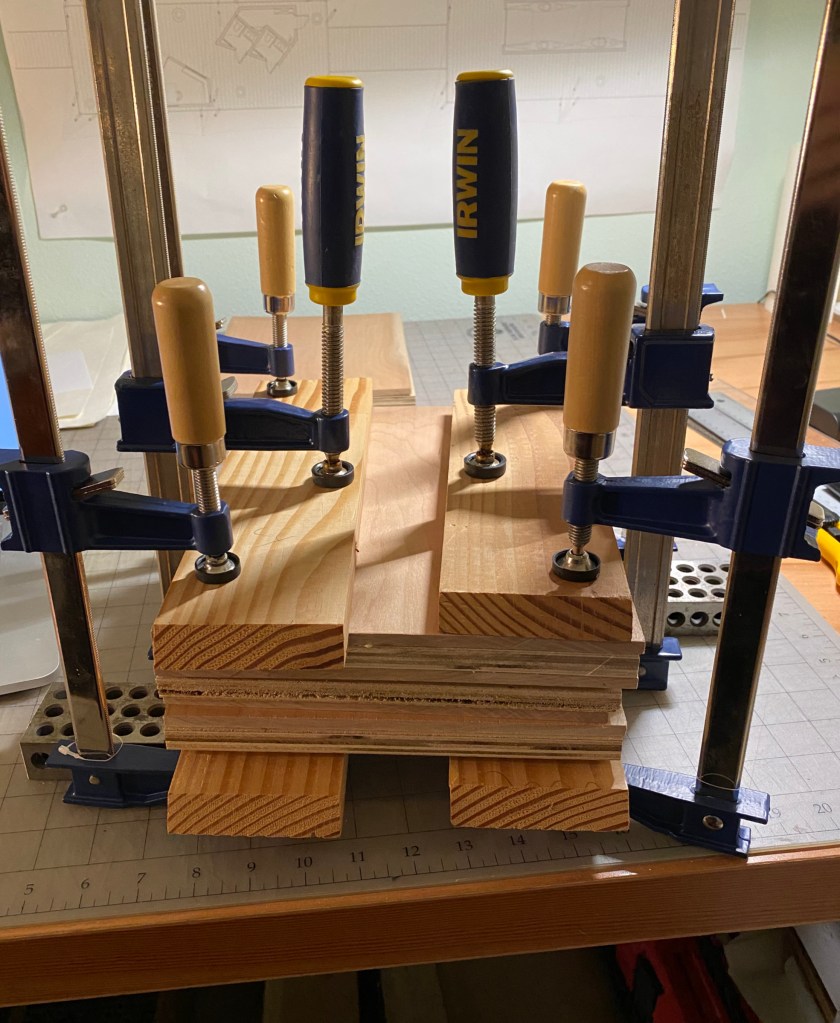
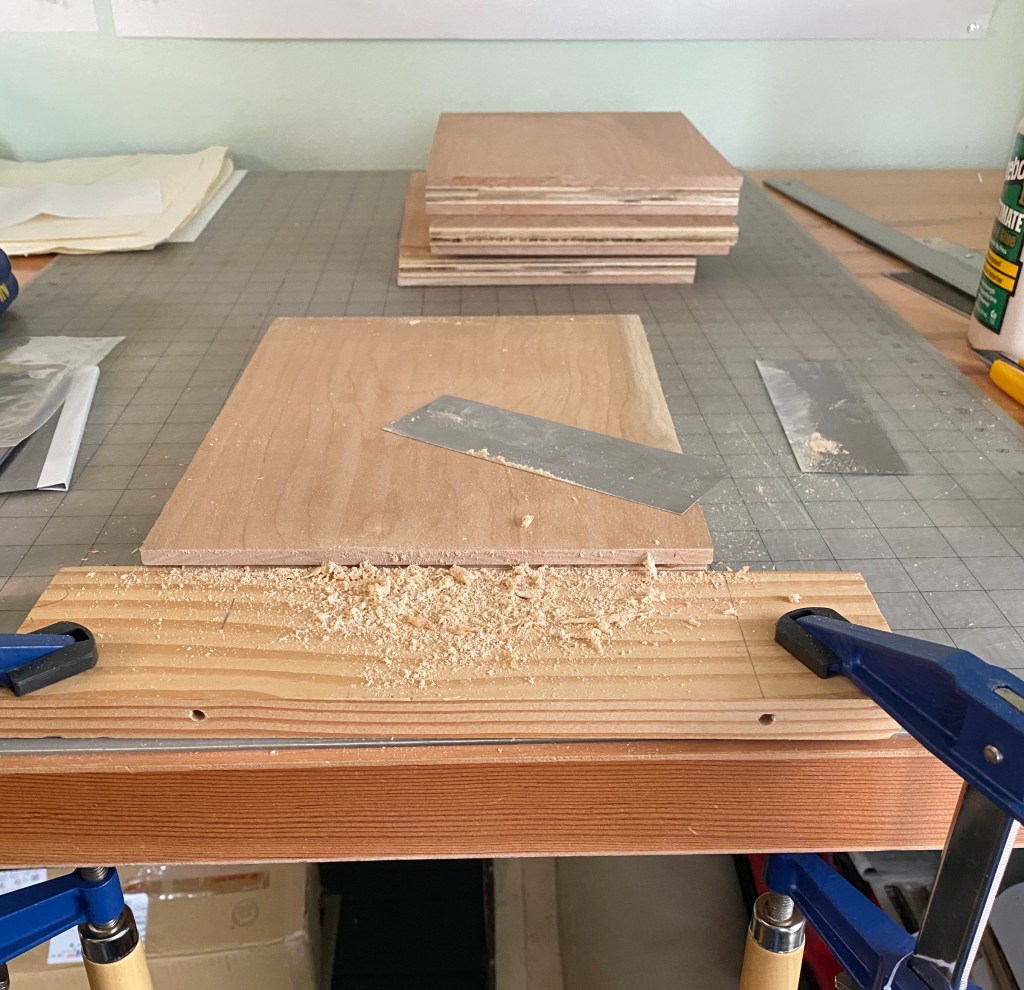
The video demo will start with making the blocks themselves from parts. This will be a pretty large print, the largest I have made using cherry blocks yet. The blocks are about 8″ x 10″. I used 1/4″ American Black Cherry thin lumber laminated to 1/2″ birch plywood with waterproof wood glue, then I used scrapers to get the surface of each block into shape.
block parts3 blocks clamped
scrapingpretty smooth!
I’ve made 4 blocks, each double-sided, so I’ve got one for the key block and up to 7 color blocks. If that turns out to be too few, I can make more, or just use shina ply if the color designs are uncomplicated.
I’ll let you in on a secret – the first run of this print is already finished! I can’t show it here though, because I want it to be a surprise to some folks who will be getting it as a holiday gift. But I’ll show a bit of the preparation process.
It’s going to be a small print. You might remember seeing my post about the “frankenblocks“. I only used one face of those 3 blocks for the leaf print, so I decided to use the rest for this one. Because one of the faces already had the lines for the leaf print (Finally Fall), I protected it by taping a piece of paper over that face. You might see the tape on the bottom of the rightmost block in the picture on the left. I made another pass over the remaining faces with a thin scraper, taking care to also scrape down the little pieces I glued on to make an external kento (set of registration notches). If those pieces stick out more than the rest of the block, then the parts of the block adjacent to them will print faintly, which would be maddening!
I made up a handful of transfer sheets. These are gampi paper laminated with reposition-able spray adhesive onto card stock. (Card stock is not the best backing paper to use if you plan to woodblock-print key lines on it (which I eventually will do), because it changes size quite a bit when hit with moisture. It’s what I have, though, so it will have to do.) Laminated with a thicker paper, one of these will go through a printer just fine! If you look closely, you can see the pencil lines I marked to position the gampi. The design for the key lines was drawn by hand with a brush-pen, then scanned so I could clean it up, make the blacks black and whites white, and size it precisely to fit on the blocks. After a few test prints I could be confident where the printer would place the image on the page, hence the pencil marks.
The rest of the transfer sheets will get used eventually, to transfer the lines of the key block to other blocks that will print regions of color. To do that, I will use the carved key block, so I will need to trim the transfer sheets so that one corner and edge fits into the registration marks.
Just a quick update: I’m mostly done with carving the current block set. There are 4 blocks with two sides, so eight printable faces. Seven of them are carved. The upper left block on the second image hasn’t been carved yet, but I’m holding off because I won’t be sure what else I might want to put on that block until I’ve done some test printing.
side one…
side two!
The blocks have been cleaned off (except for the un-carved one). Here are a few close-ups!
I hope the ripples on the water turn out OK; I pretty much winged that part.
And in news of international shipping, I am pleased to announce that the glue I ordered on April 11 from Amazon, finally arrived on June 16! Yes, all the way from Japan. In the before-times, this sort of shipment would take about a week, maybe two. I feel sorry for the seller, because they have gotten some unkind comments about something that is NOT under their control. Anyway, I’m happy it finally arrived!
The next print I am working on is a stylized interpretation of a hill and a creek near the Doeskin Ranch trailhead of the Balcones Canyonlands National Wildlife refuge. I sketched in pencil, then scanned it and moved some elements around in photochop to compress the empty space and emphasize the parts I found interesting – so the final line-work is pretty far from the photo!
Some time ago I finished carving the key block, printed transfer sheets, and spent about a week in a drawing program experimenting with color overlays enough to satisfy myself that I could make a block set work. Since then, I’ve applied the transfer sheets and started carving the color blocks. Here you see the transfer sheets, marked up with the color regions they will be used to print (not the actual colors, of course!)
almost done with the key block…
seven transfer sheets
This is pretty different from my approach to the Naoshima Coast print, where I was strongly driven by a photo, and tested printing after each color block to decide the shapes and pigment for the next color block. That process took a long time!
In this case, I’ll be using 4 double-sided laminated blocks, resulting in 8 carve-able faces. The key block counts for one, so I have seven faces left, and so far nine color regions. I’ve been able to combine two of those regions with others, so they fit on the seven block faces, and I still have a little leeway to add detail in parts of the color blocks that aren’t spoken for yet. Here are the transfer sheets, applied, with the excess transfer paper peeled away.
What’s going on the second photo? It looks a bit different, right?
The key block is on the upper right. I’ve protected it with a taped-on sheet of paper so that when I carve the other side, I won’t damage the lines.
In the block on the upper left, I’ve only peeled the excess gampi paper from the part of the block I have plans for so far. Not sure why I did that, but I know I might use some of the lower part of the block to add detail later.
And the block face on the lower right is a different kind of wood! It’s American Holly (Ilex opaca), which is a fairly dense, fairly hard, very white, tight-grained wood. It’s a little harder than American Black Cherry. I decided to try it out because I wondered if it would be similar to boxwood, which is sometimes used for key blocks. Not being brave enough to use it for a key block I used it for the simplest color block. This may backfire on me if it turns out that it doesn’t moisten properly for printing. It does moisten, which I demonstrated to myself when I wet-sanded it in the final smoothing.
Carving wise, it’s fairly easy and smooth to carve – at least for the simple shape I was carving. When clearing large amounts of waste, the resulting surface is very smooth and tight, as you can see with the 4.5mm knife on the left. However, the piece I used had some grain surprises!
Holly grain – close up
Grain surprise!
On the right is an area where the grain dove down, and so when I tried to clear, I got a hole with lots of tear-out. The region did not seem to interfere with the adjacent shape though!
I will finish carving all the so-far-planned color blocks before printing anything, I think. Two down and one started, so far. See you in a few weeks 😉