Getting started

Forest Rays

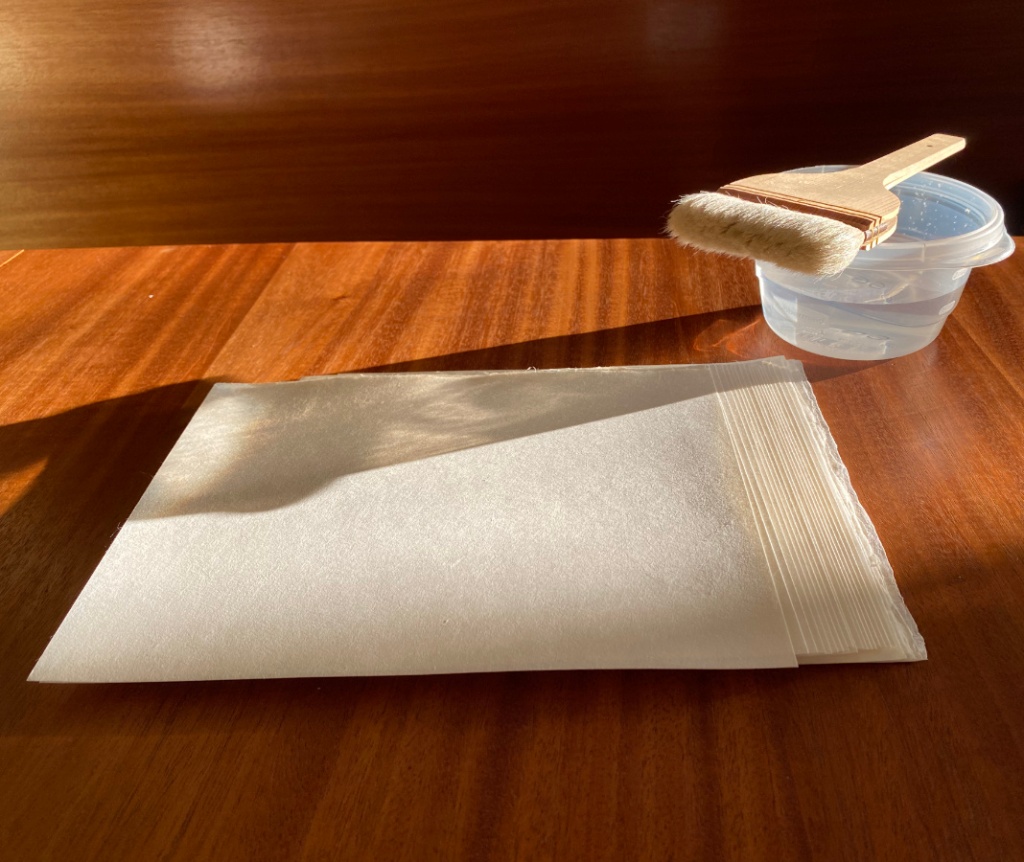
I’ve had a really productive day doing print-related things! I moistened the paper that I will use for Forest Rays.
I decided to remove part of one of the columns of shadow, since it didn’t really look right overlapping the foliage at the top. I also decided to carve the other side of the shina ply I used for the newest block, to add deepness to that upper foliage while preserving some highlights. So, I made two new transfer sheets.
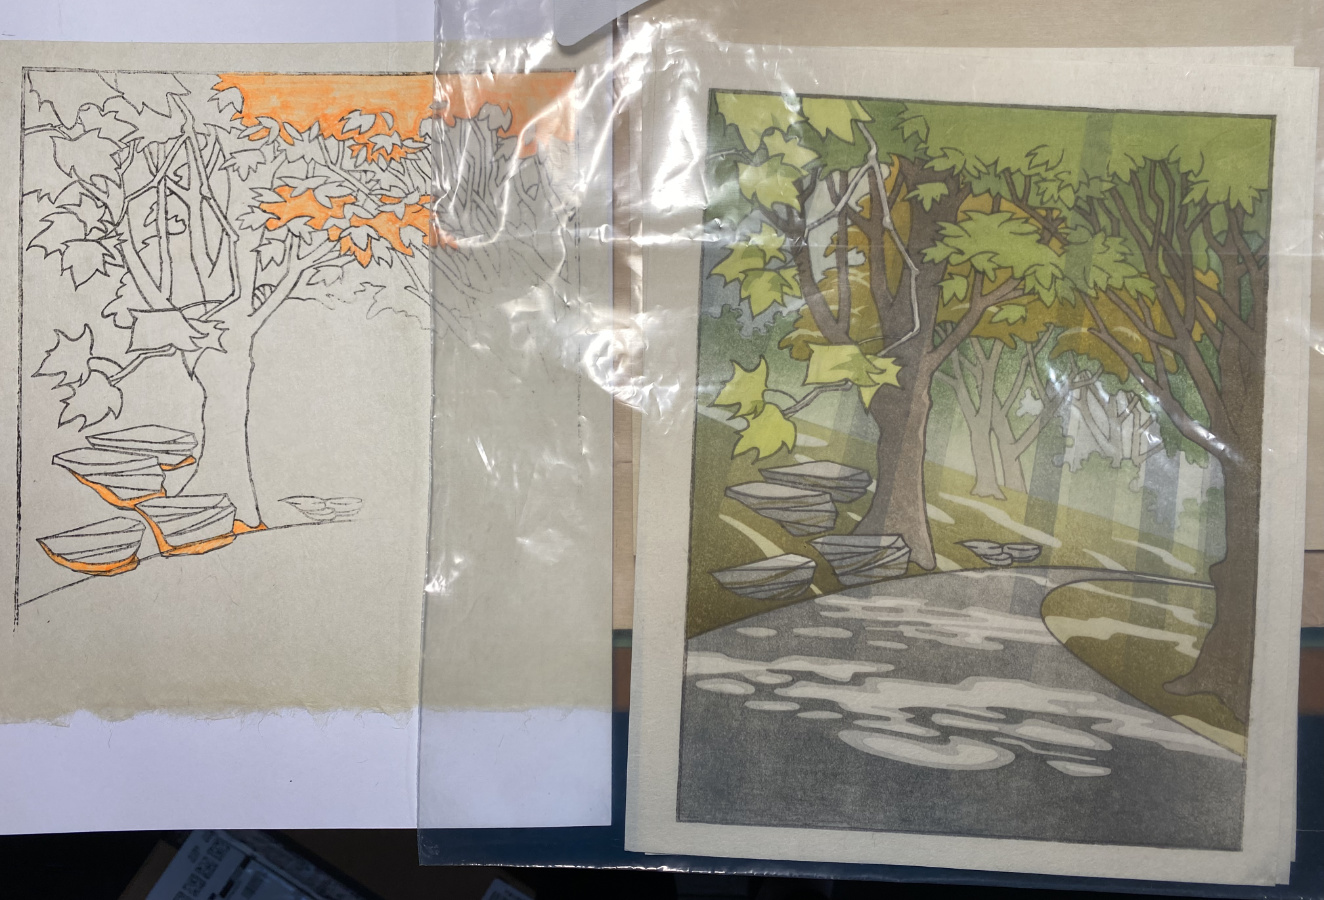
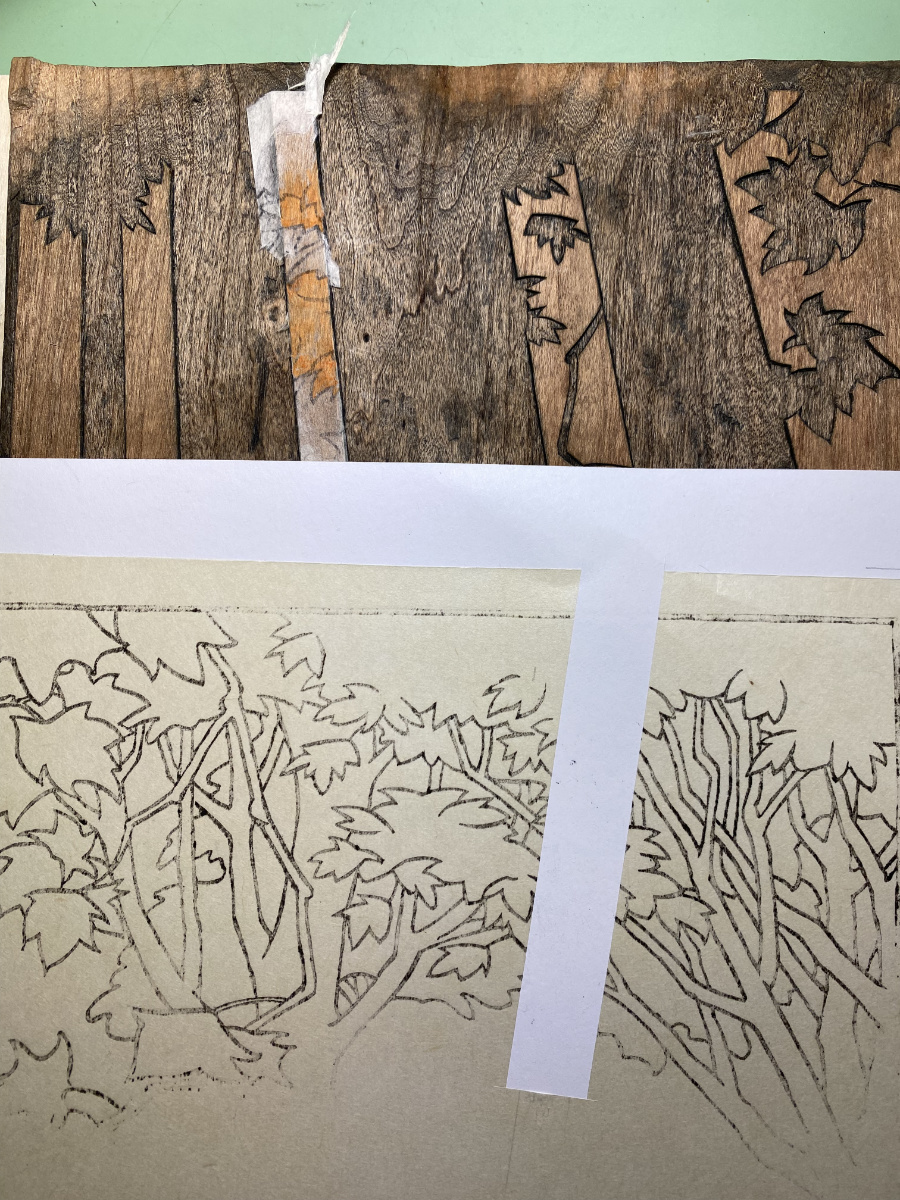
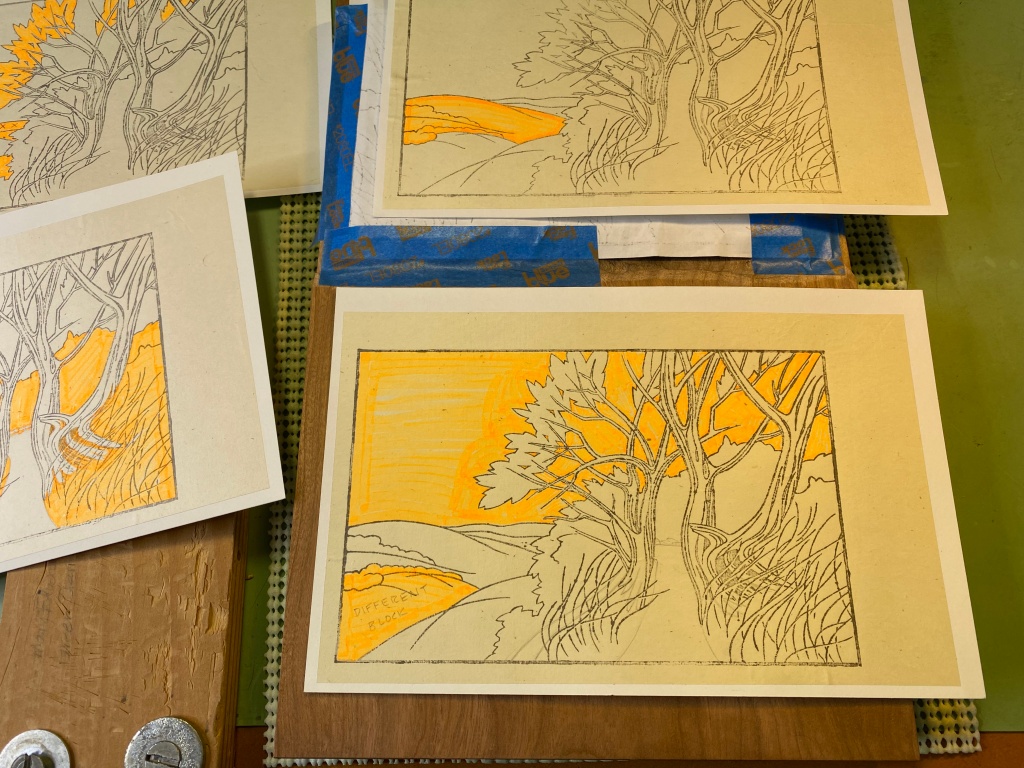
In the middle above is the current state of my test print inside a plastic bag, with the key lines added. The part of the shadow column I want to remove is about 1/3 of the way from the right edge – the part that crosses the lighter green at the top. Before pasting down the transfer to the shadow block (above right), I lightly cut the gampi with a knife so it would pull away from the backing sheet, then put glue only on that area, and pasted it down. You can see the place it formerly occupied in the transfer sheet remnants on the lower right. On far left is the second transfer sheet marked up for shading the foliage, and (why not, while I am at it!) shadows for the rocks.

Instead of starting in on the new carving, I printed the first impression of Forest Rays. I can carve later, when I have a few minutes, but printing takes a chunk of time, and today I had the time.
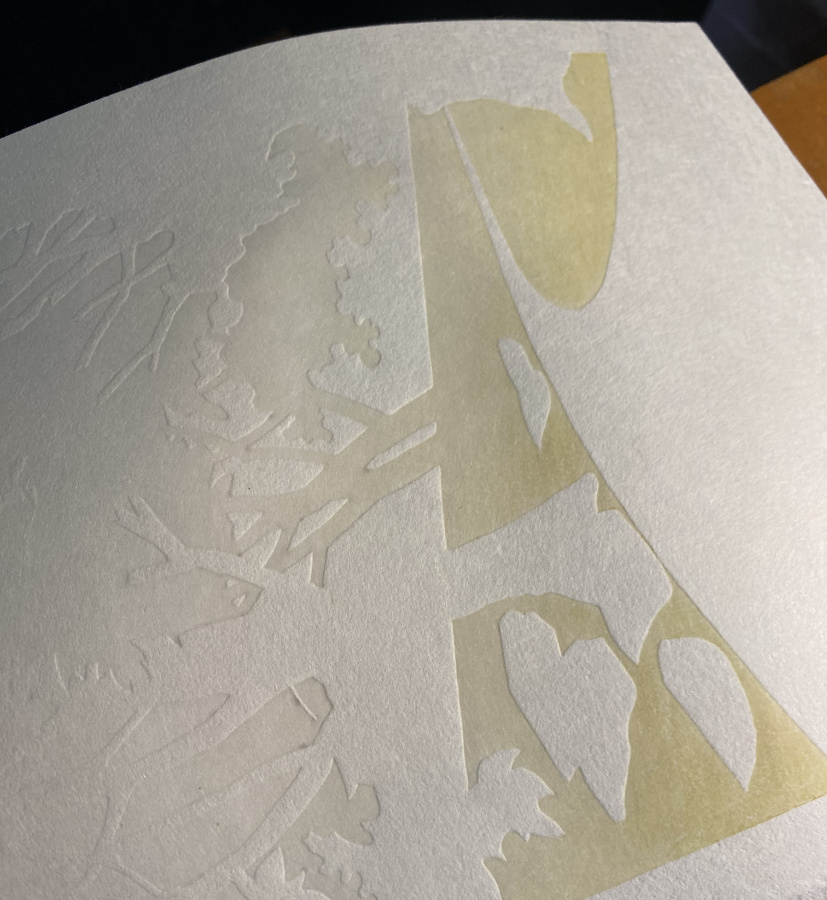
I’m printing on some Shin Hosho I got from Woodlike Matsumura a few years back. It’s pretty tough paper! I’m able to rub it without a sheet of baking parchment to protect it. One drawback is the kind of “chiri” in the paper. All handmade kozo paper has bits of junk – bark, dirt, etc. – included in it. This one has tiny rocks! I picked out 4 little rocks (OK, they are sand grains, but large ones) in these 23 pieces of washi before starting the print run. This is important so as not to damage the blocks or the baren. Other than that, I like this paper a lot. It is tough and dimensionally stable. It needs a lot of pressure for a smooth impression, but using that, it is possible to print quite smoothly.

So, I’ve officially started printing Forest Rays! No telling how long it will take; the test print has 27 or so impressions so far and that is not all of them. Also, JLPT (Japanese Language Proficiency Test) is next week and I really need to study!

Experiments!

Uncategorized

I’m doing a residency at Karuizawa Mokuhanga School and trying some different carving and printing methods. First of all, it’s a wonderful opportunity to focus as much as I want on printmaking – which is turning out to be most of my waking hours! There are others here working, so it’s a great environment to concentrate. If I was at home with this much free time I would no doubt be organizing my sock collection or some other such passtime of questionable value 😉

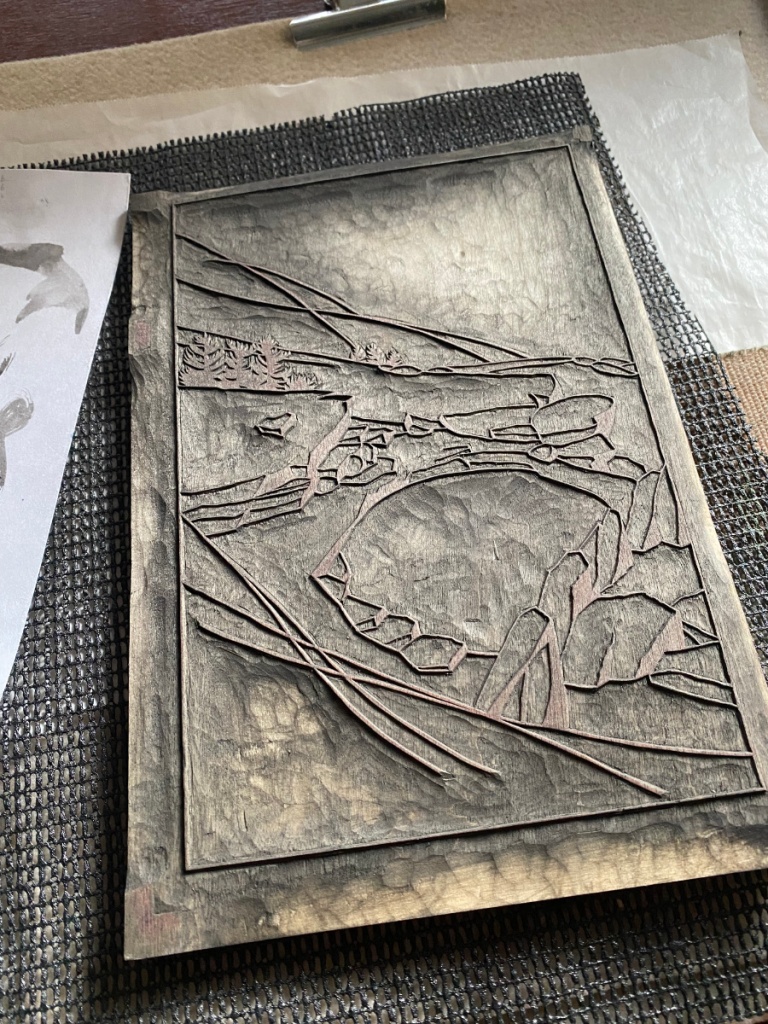
Often I’ll use the computer to print out a cleaned-up, precise set of transfer sheets for the key block and/or color blocks, and paste them down as a carving guide. This time I traced the key lines directly onto the block.

This block is magnolia wood, something I’ve never carved on before. It’s softer than cherry, but is able to hold a pretty good line. I expect it would not last as long as a cherry block, but since I don’t publish thousands of any design, that’s not such a huge consideration. (I do wonder what will happen to it when I get it home to 50% humidity conditions in Texas!)

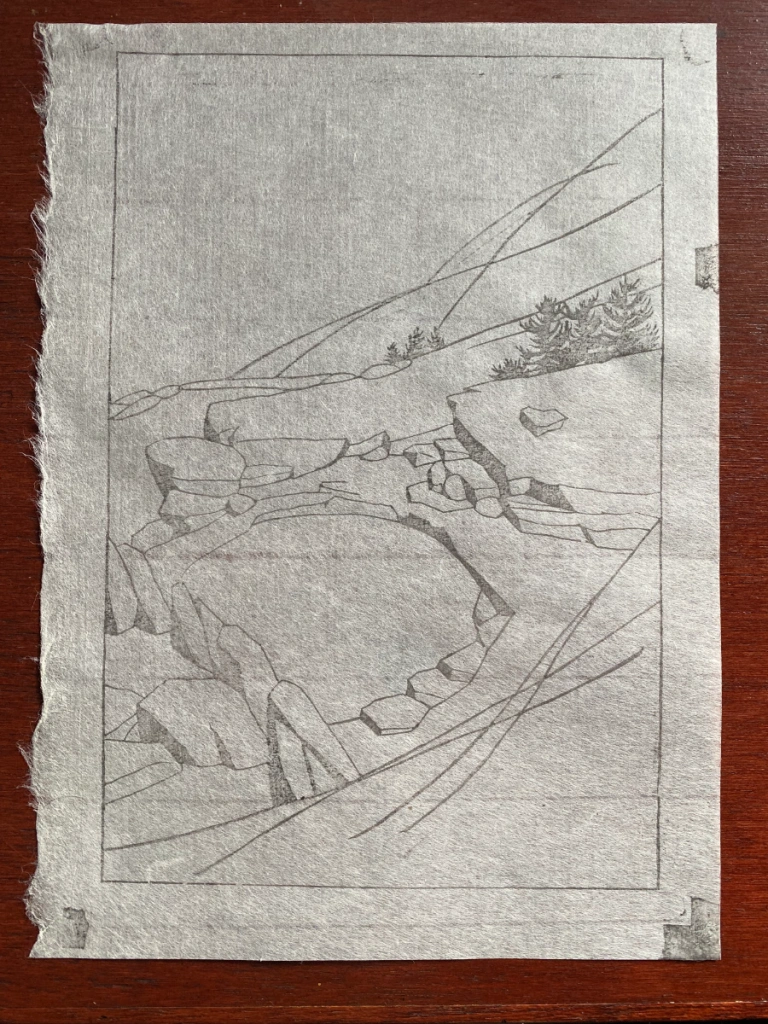
When starting with a key block, I usually print the key lines on laminated transfer sheets, as in the first photo below showing transfer sheets (hanshita) for Cedar Path. Gampi is affixed to a more sturdy backing sheet with repositionable spray adhesive, printed with the key block, then pasted down to transfer the lines for carving. This time I printed the transfer sheets directly onto washi – Awagami kozo extra light – and will paste those down directly. With fingers crossed!

Another change from my normal practice:

You’ll see the kento (registration marks) printed directly on the transfer sheets! This is because the transfer sheet is too light to place into registration marks on the color blocks.

Stay tuned for more experimental results!

Shadows, and patch.

Uncategorized

I’ve planned some shadows for the foliage. While I was at it, I also planned some for the branches too! Here are the transfer sheets –

Carving on these new shadow blocks is all finished at this point. On the way, I encountered a little mistake, circled in orange in the upper left image below. The missing bit of wood is long gone, sadly – if I still had it, I might try to glue it on with waterproof glue, even though it is a really tiny piece. I decided to try this time to make a non-janky, properly installed repair. It is still a tiny tiny piece of wood! I cut a sliver of cherry about as wide as the missing part, then chopped it to be about 1/4″ long. I used my knife to hollow out a similarly-shaped hole in the block to hold it.

Just above on the left, it’s glued in, then on the right it’s been trimmed. It is not perfect, but I think it will work well to avoid a gap in the tree-shadows.

Another block

Uncategorized

Another block? What’s going on?

Nope, not adding a block to the forest rays print! The truth is, I just don’t have the time to start printing that one. I need several continuous days without many other responsibilities; I think I will need to take vacation to do the printing. Carving, however, is something I can spend a couple of hours on here and there. Plus I really love carving! So, motivated by that excitement and a new design idea, I’ve prepared another block. I’ve used a card scraper to smooth the surface – it yields the same kind of surface that can be achieved with a hand plane, but is a lot less expensive and requires less skill to use.

Since the last design was so complicated, for this one, I am aiming for simple simple simple. All the impressions will fit on ONE piece of wood (with two laminated cherry faces). I’m thinking monochrome too!

I got everything ready before starting the carving. I figured out the final size, cut the paper, and planned out where on the wood each impression will go.

A few of the sheets of washi have some flaws. One has a tiny blood stain because I trimmed off the very tip of my thumb cutting them 😦 and others had some bends in the paper. I’ll print them all – the sheets with slight bends might turn out fine after being dampened and printed. The sheets with (possible) flaws got a little line as a corner mark; the others got a dot on the corner that is the squarest, which will go into the corner kento when it’s time to print. 50 sheets in all! My biggest print run yet.

Now to paste down that hanshita and take a knife to the block!

Next project

Uncategorized

I’ll let you in on a secret – the first run of this print is already finished! I can’t show it here though, because I want it to be a surprise to some folks who will be getting it as a holiday gift. But I’ll show a bit of the preparation process.

It’s going to be a small print. You might remember seeing my post about the “frankenblocks“. I only used one face of those 3 blocks for the leaf print, so I decided to use the rest for this one. Because one of the faces already had the lines for the leaf print (Finally Fall), I protected it by taping a piece of paper over that face. You might see the tape on the bottom of the rightmost block in the picture on the left. I made another pass over the remaining faces with a thin scraper, taking care to also scrape down the little pieces I glued on to make an external kento (set of registration notches). If those pieces stick out more than the rest of the block, then the parts of the block adjacent to them will print faintly, which would be maddening!

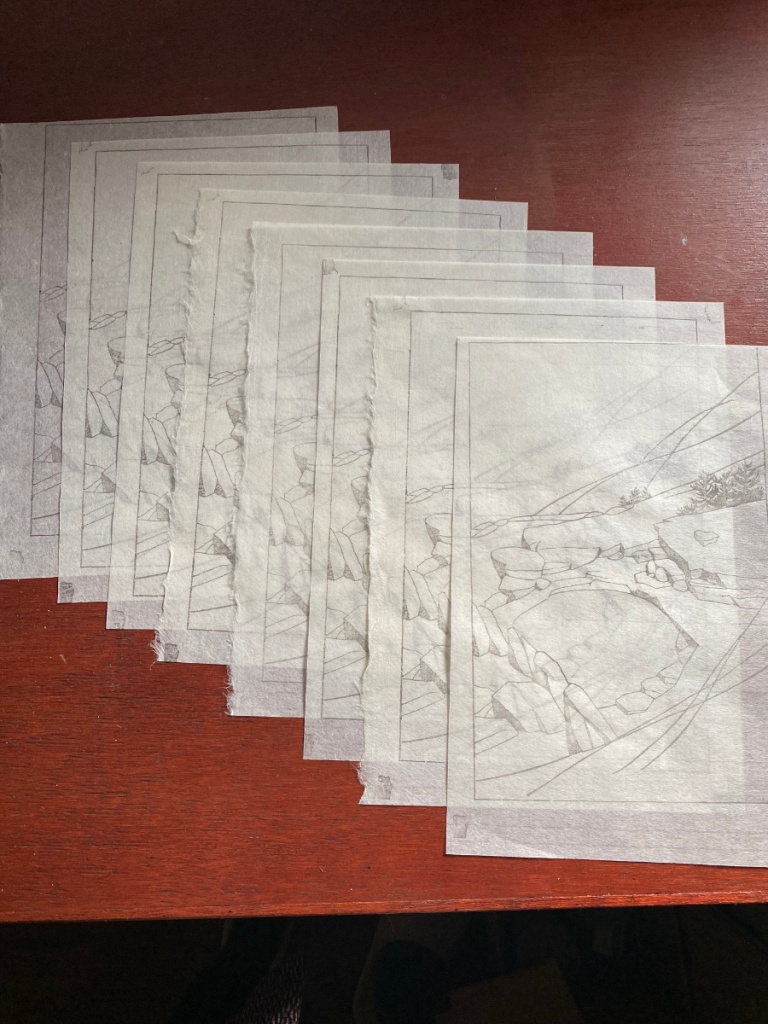
I made up a handful of transfer sheets. These are gampi paper laminated with reposition-able spray adhesive onto card stock. (Card stock is not the best backing paper to use if you plan to woodblock-print key lines on it (which I eventually will do), because it changes size quite a bit when hit with moisture. It’s what I have, though, so it will have to do.) Laminated with a thicker paper, one of these will go through a printer just fine! If you look closely, you can see the pencil lines I marked to position the gampi. The design for the key lines was drawn by hand with a brush-pen, then scanned so I could clean it up, make the blacks black and whites white, and size it precisely to fit on the blocks. After a few test prints I could be confident where the printer would place the image on the page, hence the pencil marks.

The rest of the transfer sheets will get used eventually, to transfer the lines of the key block to other blocks that will print regions of color. To do that, I will use the carved key block, so I will need to trim the transfer sheets so that one corner and edge fits into the registration marks.

New shade blocks

Uncategorized

When I started working on the rockpile project, I wasn’t sure where the color would go, what blocks I would need, and so on. I drew and carved the key block, then thought about where the lightest colors would go and carved some color blocks for those, using transfer sheets printed from the key block to locate their edges. I started test-printing in earnest earlier this month, when I had blocks for light grayish, light bluish, green and reddish. First I tested some of the colors I though would be good to use, to see how they overlap and combine to make other hues. I kept notes and spots of color to document the saturation of the pigment I used to print.

After the initial testing, the results of which I showed in the last post, I decided to add some darker shading in some areas. Here are my transfer sheets:

Notice there is a thinner paper of the gampi type laminated on a thicker backing sheet. The lines were printed from the key block, then I marked and colored in the areas of the new blocks that are to remain. The blue is for water and sky shading; the yellow is to darken some areas of the rock, and the pink is for some even darker shadows on the rocks.

These transfer sheets get pasted UPSIDE DOWN on the new blocks using the same registration marks I’ll later use for printing, the thicker backing paper gets peeled off, and often part of the gampi gets peeled off along with it, leaving the face of the gampi with the lines and colors against the wood and visible through what’s left of the gampi. If it is still too thick, I can moisten it a little on one edge, and peel off another layer.

This block is one I’ve already test-printed from, but shows what the transferred gampi looks like after it’s pasted down and the excess is peeled off. It’s super-easy to see what to carve!

Here are my newest blocks after some test printing, and the two surviving test prints with their new shading.

I think it is starting to come together! I think I need a little more color on the trees on top of the hill, and more definition of the cliff face. I’ll see what I can do with my current blocks (there are 7!), but I might need to do more carving.