Print Rodeo!
25 printmakers, including me!
Brews and bites!
All of this on Sunday, September 4, from 11am until 4pm
Central Machine Works, 4824 E Cesar Chavez St, Austin, TX


Print Rodeo!
25 printmakers, including me!
Brews and bites!
All of this on Sunday, September 4, from 11am until 4pm
Central Machine Works, 4824 E Cesar Chavez St, Austin, TX
I apologize for not posting much in the way of in-progress notes about this print. There are some things I’d like to talk about, and I might get to them eventually. But in the mean time, I’m done! Here are some shots of the prints drying.


This print run included 30 prints – 4 on Shin Torinoko as practice prints, 20 on Kitaro’s (https://www.washi-kitaro.com/) Kizuki, and 6 on the Shin Hosho I ordered from Matsumura-san. There’s some variation in thickness in each of these washi batches. One of the sheets from Kitaro was noticeably thicker than the others; this didn’t seem to affect the printing very much, though. The Shin Hosho sheet I used was thinner than any of the sheets I used for the Naoshima Coast print, and I really liked printing on it! It was easy to get a smooth, intense impression. You might remember I struggled with smooth impressions on the Naoshima print. I think if all the sheets had been like this one, printing would have been a piece of cake!
Here’s an example of the finished print, held so the embossing can be seen. This is one of the Shin Hosho sheets, but the Kizuki prints also turned out quite nicely; the paper color is a little creamier on those.

I’m pretty happy with how these turned out.
I’m into a second small round of test printing on the Balcones Canyonlands print. This round is mostly focused on reproducibility, but I am also trying out a few variations.


The first print on a block can be quite light, and then the color deepens over the next few impressions. I think I got the rock color a bit too dark on the bottom left one, in the image on the right.


Not the best photos, but this gives you an idea how the colors combine.
I’m a bit unsatisfied about how dark the shadows are on the clouds in the final image, and am considering moving them to another block. Or really editing this one, or maybe just carving away the cloud part from the shadow block entirely.
One of the variations is the darker rock detail in the final image. The lower prints use a redder color for those areas than the upper prints do.
Another experiment was the pinkish cloud color. I went from a light egg-yolk-yellow on the first, adding a bit mor red as I went, to an almost pink with just a hint of orange on the fourth. I think the version I like the best is the second one, which is the image on the left above.
The final experiment is these leaves. I think I like them, and I think I like the darker ones

You can maybe see a bit of a registration issue with the shadows, which peek over the edge of the ledge in front of the stalks. The next thing I will do is test a correction; I’ve shaved down some thin pieces of scale lumber even thinner, and have tacked them in place on the registration marks to move the paper up a bit.
I went back to the place that inspired this image today. It’s the middle of July, after a couple of weeks of really hot days, many over 100 degrees F. There wasn’t a lot of water before, but now there’s only a trickle over the rocks, and the pool below is almost completely dry. I’m looking forward to some rain!
Just a quick update: I’m mostly done with carving the current block set. There are 4 blocks with two sides, so eight printable faces. Seven of them are carved. The upper left block on the second image hasn’t been carved yet, but I’m holding off because I won’t be sure what else I might want to put on that block until I’ve done some test printing.


The blocks have been cleaned off (except for the un-carved one). Here are a few close-ups!


I hope the ripples on the water turn out OK; I pretty much winged that part.
And in news of international shipping, I am pleased to announce that the glue I ordered on April 11 from Amazon, finally arrived on June 16! Yes, all the way from Japan. In the before-times, this sort of shipment would take about a week, maybe two. I feel sorry for the seller, because they have gotten some unkind comments about something that is NOT under their control. Anyway, I’m happy it finally arrived!


Now, time for test printing!
Here are a few minutes of me doing something I enjoy! Please ignore the technique; purists would scoff.
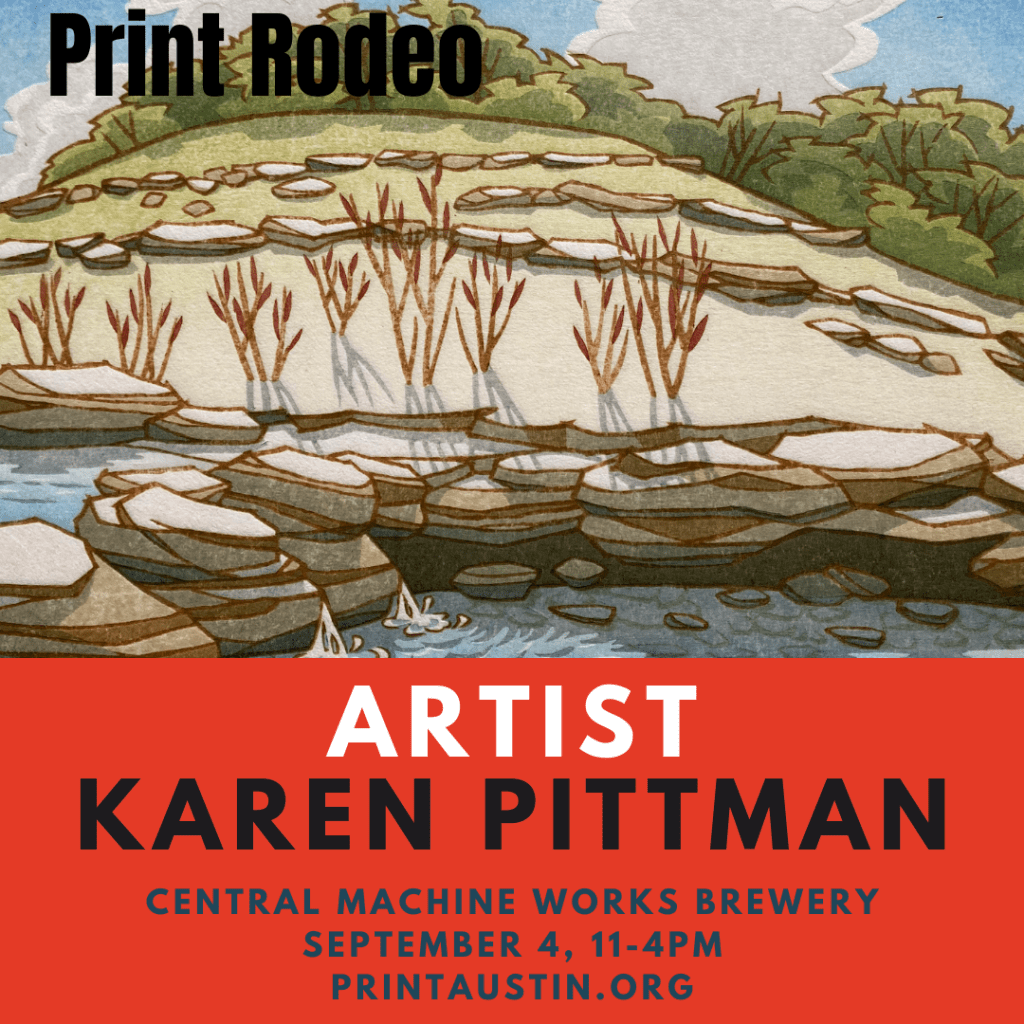
The next print I am working on is a stylized interpretation of a hill and a creek near the Doeskin Ranch trailhead of the Balcones Canyonlands National Wildlife refuge. I sketched in pencil, then scanned it and moved some elements around in photochop to compress the empty space and emphasize the parts I found interesting – so the final line-work is pretty far from the photo!
Some time ago I finished carving the key block, printed transfer sheets, and spent about a week in a drawing program experimenting with color overlays enough to satisfy myself that I could make a block set work. Since then, I’ve applied the transfer sheets and started carving the color blocks. Here you see the transfer sheets, marked up with the color regions they will be used to print (not the actual colors, of course!)

This is pretty different from my approach to the Naoshima Coast print, where I was strongly driven by a photo, and tested printing after each color block to decide the shapes and pigment for the next color block. That process took a long time!
In this case, I’ll be using 4 double-sided laminated blocks, resulting in 8 carve-able faces. The key block counts for one, so I have seven faces left, and so far nine color regions. I’ve been able to combine two of those regions with others, so they fit on the seven block faces, and I still have a little leeway to add detail in parts of the color blocks that aren’t spoken for yet. Here are the transfer sheets, applied, with the excess transfer paper peeled away.


What’s going on the second photo? It looks a bit different, right?
The key block is on the upper right. I’ve protected it with a taped-on sheet of paper so that when I carve the other side, I won’t damage the lines.
In the block on the upper left, I’ve only peeled the excess gampi paper from the part of the block I have plans for so far. Not sure why I did that, but I know I might use some of the lower part of the block to add detail later.
And the block face on the lower right is a different kind of wood! It’s American Holly (Ilex opaca), which is a fairly dense, fairly hard, very white, tight-grained wood. It’s a little harder than American Black Cherry. I decided to try it out because I wondered if it would be similar to boxwood, which is sometimes used for key blocks. Not being brave enough to use it for a key block I used it for the simplest color block. This may backfire on me if it turns out that it doesn’t moisten properly for printing. It does moisten, which I demonstrated to myself when I wet-sanded it in the final smoothing.
Carving wise, it’s fairly easy and smooth to carve – at least for the simple shape I was carving. When clearing large amounts of waste, the resulting surface is very smooth and tight, as you can see with the 4.5mm knife on the left. However, the piece I used had some grain surprises!


On the right is an area where the grain dove down, and so when I tried to clear, I got a hole with lots of tear-out. The region did not seem to interfere with the adjacent shape though!
I will finish carving all the so-far-planned color blocks before printing anything, I think. Two down and one started, so far. See you in a few weeks 😉
Despite being careful, wiping the edges while printing and shielding the registration marks with a little piece of brass sheet or a spoon (yeah that works pretty well too!), sometimes the white border around a print gets a stray mark of pigment like the image on the left.


What happened on the right? Not an eraser and not white out! I used my knife to fix this little mistake. The knife has to be really sharp, especially on this Echizen Kozo paper, which is really fluffy. I’ve heard that on some paper, a little sandpaper might remove spots like this but not on this paper (I tried) – it just raises the fibers and makes it look fuzzy. Instead, a very shallow slice on either side –


— and the spot is banished! I learned this (and got the bravery to try it) from watching Dave Bull on his Twitch live stream. Thanks Dave!
Alright, Light Show reprint #2 is completely done, time to move on. I’ve been working on a design based on some scenery from a recent socially-distanced hike I went on with some friends in the Balcones Canyonlands Preserve northwest of Austin. We drove separately, did not hug or get anywhere near close enough to, but it was good to be able to talk in person – 10 feet away! – to human beings I know and love.


It was a lovely day, early Spring and still cool, and up the hill from this sweet little stream and pool was a hill strewn with rocks and crowned by trees. Once home, I commenced to sketching. My ultimate design is only loosely based on these images, is fairly stylized, and really focuses on rocks. (I love rocks!)
But before I can make another print, I need woodblocks. I have enough cherry thin lumber to make three printing surfaces that are about 6″ x 8″, and some holly that I got as an experiment to see if it might be sort of like boxwood, plus some plywood to laminate it too, and some odds and ends to paste on for registration marks, so they can be outside the 6″ x 8″ image region. That about exhausts the supplies I have lying around! After glueing and clamping —


— I now have two double-sided blocks, with three cherry faces and one holly. I have no idea how the holly will work. It seems very homogenous and free of grain, but it might be lying to me!

I also have some Shina ply, which I suppose I could use for color blocks if I can’t get anything better in time.
Here I’ve started on the line work.

Next: planning for which paper to use, and how to cut it to avoid waste. Then I can properly size the line work, and make a transfer sheet, paste it down, and start carving! Woohoo!
