Almost oops!

Uncategorized

Some time ago, before the plague times, I ordered and received some very nice washi from a papermaker in Echizen. It’s really lovely, smooth, good weight, 100% kozo, and ALREADY SIZED! I am looking forward to EMS shipping starting up from Japan again so I can order some more. What I received was a very high quality product, clean and uniform in texture and sizing.

My coworker, Corax the black cat, really enjoyed playing in the box. He’d get in, and scratch scratch tap tap. Hours of entertainment. I finally got around to flattening the box and putting it in recycling. But wait — what’s that? There was something taped to the bottom with that typical Japanese brown fabric-reinforced tape, wrapped in brown paper the same color as the surrounding cardboard. I’m glad I noticed! It was a sample book.

This is a pretty fancy sample book.

The paper on the cover has some really interesting iridescent patterning, and when you let light shine through it, it looks like the fibers that provide the pattern are denser than the rest.

At the end of the booklet was another price list (same prices), on a paper that has another interesting pattern of iridescence. And that’s the back of the booklet, with their contact info.

I’m looking forward to getting some more of this paper!

Light Show is drying

Uncategorized

Here they are! This makes it look like there are a lot of them. I guess there are; there are more than can be seen in one of these views 😉

I made 19 on Echizen Kozo, three on practice paper, and 3 on the Kizuki Hosho I recently got from Kitaro paper. The Kitaro paper is a little more off-white; one of the sheets is the lower-right-most in the right-side image below.

After drying a little in open air, they will be pressed between mat boards to finish drying flat. Then I will take a serious look. I’m hopeful that once they are dry the Echizen Kozo will be a little tougher than when it was damp.

If you are wondering what’s on the far wall…

Short Tuesday note

Uncategorized

I had planned to print last night, applying maybe the last impression – the dark lines with sumi – on the fireflies, but when I looked at the block, I saw that some lines were missing. Blasted shina plywood again! You can see pretty clearly below that I filled in some places where the top ply went missing. Before printing, I’ll need to let the glue cure and then trim the patches to match the lines they are patching.

I’ve learned before that I need to let the glue cure really well before trying to use a block I’ve repaired this way. The next time I’ll have a chunk of time for printing is Thursday. There are 25 sheets in my stack – 19 of them on the Echizen Kozo – and it has been taking me about 3 hours to get through the stack, clean up my tools, and get the paper packed for the freezer, and I have that kind of time only 4 days a week.

I hope everyone is staying safe out there, and thanks for reading!

Lazy person’s multiple key block

Uncategorized

I started the real run of prints on mulberry paper! I printed the entire key block first in light Payne’s gray, but wanted to darken the border and the lines on the rocks.

I think I’ve mentioned that the rock pile print might call for ‘mudabori’, or wasted carving. This is a technique where key lines are originally carved, then transferred to another block where they are carved to be printed in another color, and the original lines are carved away. It turns out I only removed a few of the lines from the lightest parts of the rocks in the foreground that will be taken care of by a block I will print in a light blue. But I did try one weird trick 🙂

Here’s what I did: I cut a piece of card stock, and used it as a mask.

Then, I did a second print run using a light sepia. To succeed, I needed to match the registration of the first impression exactly. I am pretty happy with the result! I only messed up the registration on one sheet of test paper.

Here’s one of the resulting washi sheets. Sorry about the low light, but you can probably see that the border and the rocks have lines darkened by the sepia, while the trees and distant shore still have fairly light lines.

Reprinting “Frustration”

Uncategorized

That’s actually the title of the heron print, not any mood I’m in from doing another round of prints! Poor heron, he would love a nice steak, but only has fish at hand. Too bad he wasn’t at the 4th of July gathering I attended recently!

So yes, I am now printing “Frustration” on A4 washi for the Awagami International Miniature Print Exhibition (http://miniprint.awagami.jp/index.html). I’ve thrown a variety of papers into this run, in addition to the Echizen Kozo I hope to submit on, some of them from the sample pack that the Awagami Factory sent to the first applicants to the show. Hakuho Select: This paper is super thick, and even with strong pressure still I can’t overcome the texture on the smooth side to get an even impression. Maybe if I was printing with a steamroller… Bamboo Select: Wow, every impression has resulted in a smooth color distribution. The fiber content is really non-traditional, though. Kozo Natural Select and Kozo Extra Thick Natural: It’s not clear whether these papers are sized. The info sheet in the sample pack lists sizing as 0, but they don’t really behave as unsized papers. They are really thin, and printing on the Kozo Natural Select is like printing on tissue paper! But it may actually yield a real print.

The other papers I’m using are my go-to Shin Torinoko machine made paper from McClain’s, and the aforementioned Echizen Kozo. The Echizen Kozo is a fluffy, luminous paper with a large capacity for pigment. Check out the nice embossing of the current state of the new heron print:

As you might recall, I carved the blocks for this print without registration marks, and used an outside kento. This time, because there is such a huge margin between the printed surface and paper edge, I’ve had to get creative with the registration jig:

One final update … I splurged and got a real baren!

I ordered it from Woodlike Matsumura (https://wx30.wadax.ne.jp/~woodlike-co-jp/zen4/) and it showed up in 4 days, despite the month lead time. It came from http://www.scn-net.ne.jp/~kikuhide according to included literature. So far, it has served me well. It seems more predictable and reliable than the last couple of cheaper baren I have used.

Fireflies have flown

Uncategorized

The fireflies are done and are now winging their way to Tokyo. It was hard to part ways with them, but I hope they will find good homes. I ended up with 12 good prints on the good paper; here they are:

I have more prints on the machine-made paper, but I am not sure what I am going to do with them. I told @the_ungawa that I would post a comparison:

The nice, handmade paper from Iwano san is on the left, and the Shin Torinoko is on the right. The tone of the right-side paper itself is cooler, and this shows in the print. As impressions stacked up, it seemed like the machine-made paper was a little more reluctant to accept the pigment. (I did use a lot of paste, especially in early impressions, trying to achieve a smooth texture. Maybe I could have gotten away with less paste early on to keep the paper from “filling up.”) It’s actually pretty hard to tell with my less-than-stellar photography but the version on the left is warmer and more luminous.

The back side of the print is kind of interesting. Lots of lines are visible in the handmade paper below, but the impressions are much less visible on the Shin Torinoko.

It took me 2 weeks for this run. I wasn’t able to print every day because of work, travel and evening duties. 10 blocks, 12 impressions total:

  1. Cadmium yellow pale (Cotman) 2019-05-27
  2. Quinacridone gold (Turner) 2019-05-29
  3. Olive green (Windsor Newton) & phthalo yellow green (Grumbacher Academy), 3:1 – 2019-05-30
  4. Hooker’s green 2019-05-31
  5. Phthalo green and Payne’s gray, 1:2 – 2019-06-01
  6. Phthalo turquoise and Payne’s gray, 1:4 – 2019-06-02
  7. Phthalo turquoise and indanthrene blue, 1:1? – 2019-06-02
  8. Indanthrene blue 2019-06-03
  9. Indanthrene blue 2019-06-05 to darken impression #8
  10. Phthalo blue red shade 2019-06-06
  11. Phthalo blue red shade + Magenta + sumi 2019-06-09 to adjust color and darken impression 10
  12. Sumi (dilute) 2019-06-10 for the key block.

Fireflies and cherry

Uncategorized

Yesterday I started printing the next run of the fireflies. I’m doing 20 total, 6 on shin torinoko more or less as practice prints, and 14 on the nice paper made by Iwano san for Mokuhankan. I really wish there was more of the latter; I feel like I’ve barely warmed up and I’m done, time to move on to the next impression.

Still, it takes me about 2 hours to do 20 at this stage, and my arm is sore today. The first block is solid yellow, and it is a pretty big expanse to cover with solid, even pressure. I think they are looking pretty smooth, if I do say so myself:

No time this evening after scheduled activities for more printing. Instead, I have cherry woodblock news.

My first relief printing used materials other than cherry. Linoleum, some random plywood, even lacquered particle board. The early water-based pigment prints used shina plywood. It carves easily, but is kind of spongy and is hard to carve fine detail into. Or, you can carve it, but it might well slough off and make you sad. Also, I hear from people who make more than a few tens of prints, shina wears out.

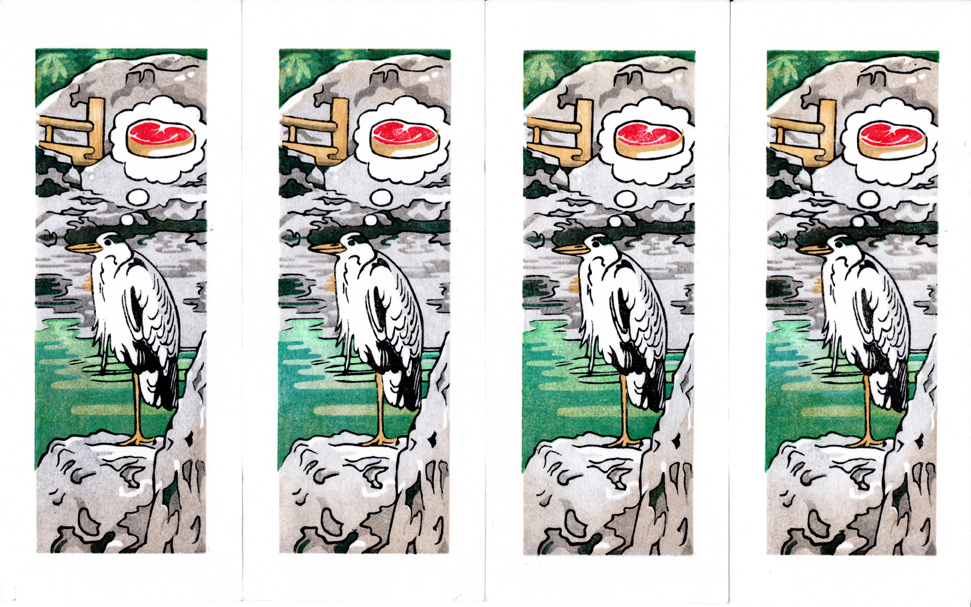
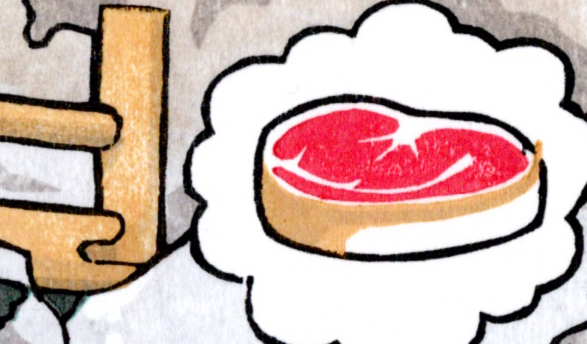
Japanese mountain cherry is one of the few preferred woods for carving wood blocks in the Japanese printmaking tradition. I got a chance to use it for the heron print. It’s hard, but not difficult to carve. It’s easy to do what you intend, carving cherry. Bad things seem to happen less often. Plus, it is very durable, and tens of thousands of impressions can be made with a block carved into cherry. So, I have been looking for ways to get more of this good wood, or wood like it, to carve blocks with.

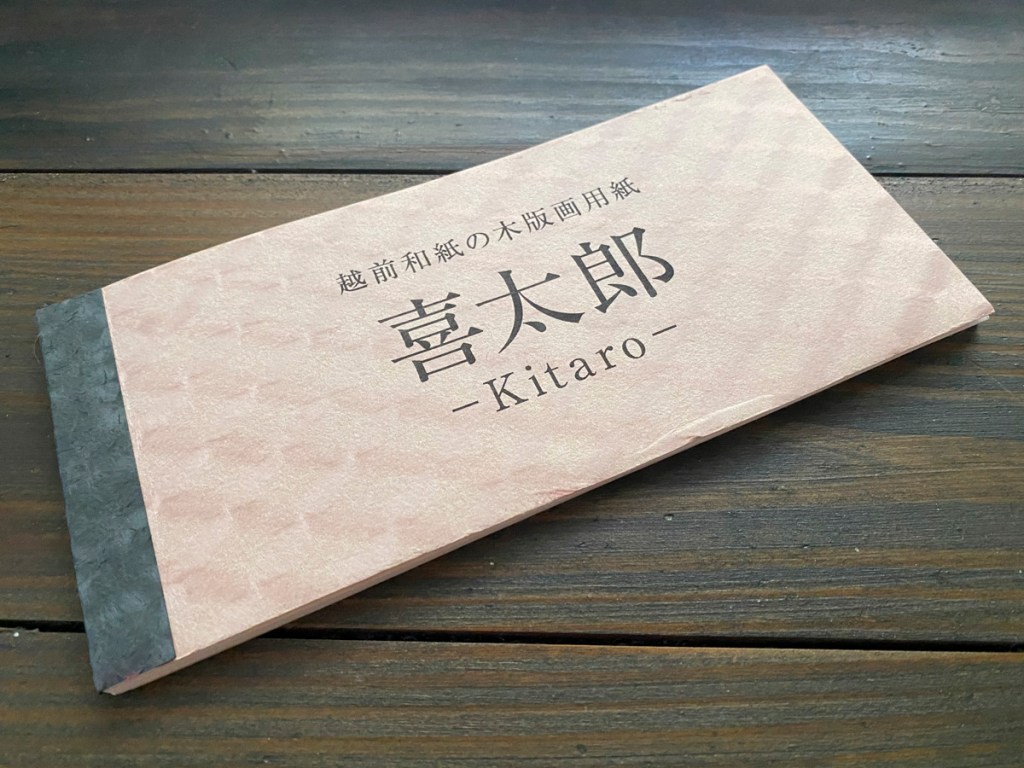
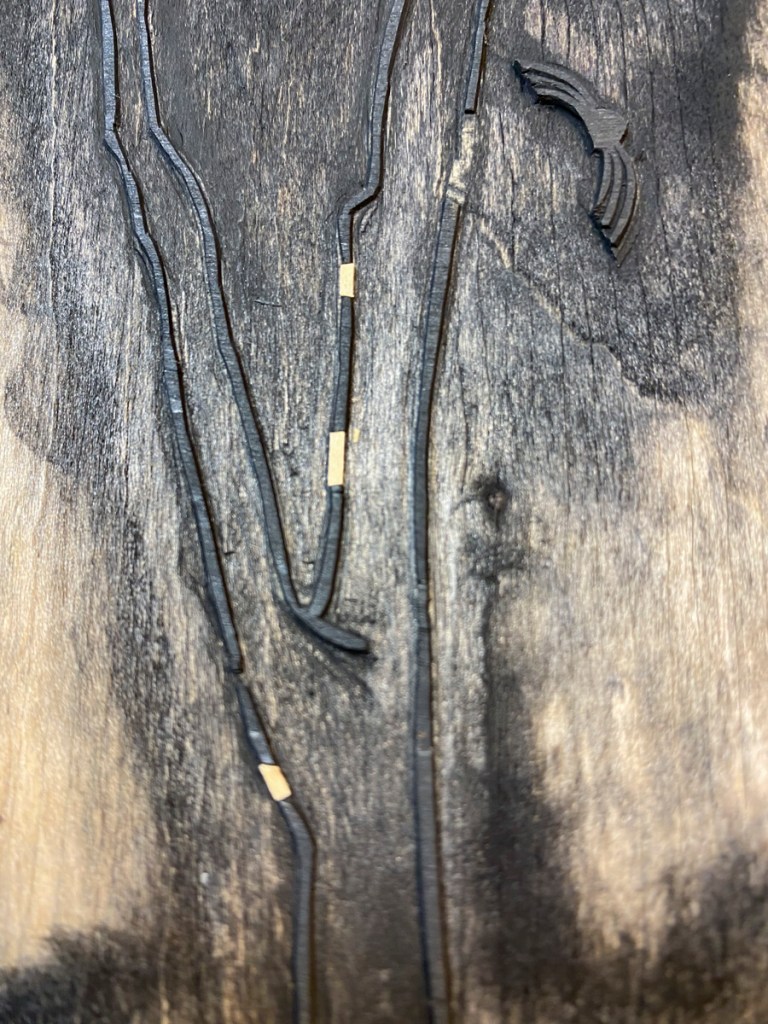
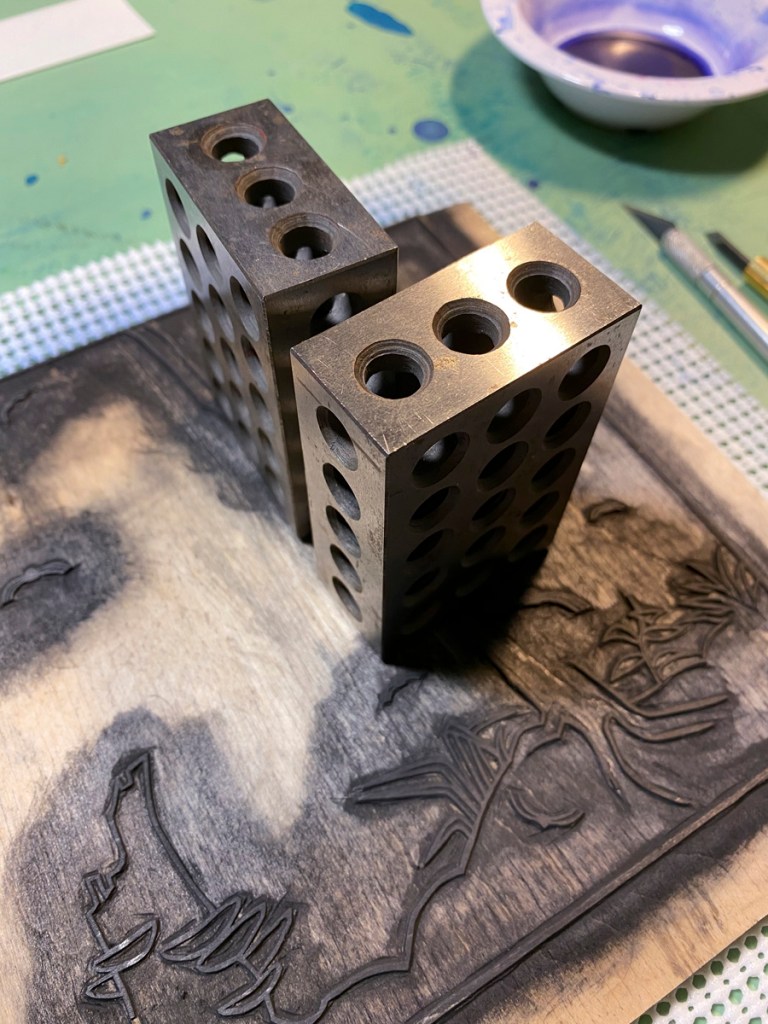
This weekend, when I dropped off some kitchen knives to @irontoadamant (https://www.irontoadamant.com) for sharpening, I also got a double sided cherry faced woodblock. He doesn’t have a lot of these available yet, but is working on making them more widely available. It’s a very pretty piece of wood –

Both faces are hand-planed (with tricksy Japanese planes!) and quite smooth and flat. My fingers can’t feel any changes over the small places where there is some discoloration. The top layer is good thick cherry, more or less rift-sawn but shallowly, and if I were to guess the center is nice flat baltic birch. It’s pretty big – 7.25 x 8.5 “.

Attempting to be able to take matters into my own hands last week, I had ordered some cherry thin lumber from Ocooch Hardwoods. It arrived today. I gave them some special instructions: The harder, the better, and flat-sawn is best (I heard from Dave Bull at Mokuhankan that flat-sawn wood is better for woodblocks). Here’s todays’ shipment guarded by the shop supervisor.

Each is 6″ x 24″ and 1/4″ thick, pretty much on the nose. Looks fairly flat-sawn to me. No warping or cupping. Any hardness assessment will have to wait until I formulate a plan, laminate some blocks to the planned dimensions, and commence carving! Who knows when such a plan will form.

Unexpected mail!

Uncategorized

What’s this, a package notice in my mailbox? Did I order something? Turns out it’s this:

An unexpected package from Japan! How exciting! Aha, I know what this is. I entered the Awagami International Miniprint exhibition (http://miniprint.awagami.jp) – the first time I have entered art into an exhibition since, well, a long time.

Turns out I am one of the first 500 entrants, and to those lucky people they have shipped samples of their papers.

Looks like 2 sheets each of 10 different papers (only half of which are revealed here). I’m looking forward to examining them more closely and trying them out!

Heron Project 4

Uncategorized

I’m done with the first series of prints! I started out with 14 on Shin Torinoko (sized, Manila linen and acid free pine pulp, machine made) and 9 on Echizen Kozo (sized, kozo with “a small % of acid free pulp”, handmade) and of course I had some attrition. Only one bone-headed move printing a sheet 180 degrees from the correct angle; some places where the paper contacted a part of the block that was too high; and a few “too crude” impressions with some movement or just too much pigment and goo. I think I have ended up with 10 + 6 prints I can be happy with (perhaps after cleaning up a few spots around the edge that I wish were not there). Aside from the bone-headedness, I can solve most of the errors by deepening my carving.

The Shin Torinoko held up much better under the pressure and friction of the baren than the Echizen Kozo did. I mostly didn’t use protecting sheets (baking parchment) until the end, because I have found that it’s easier to feel what is going on without them. Consequently there were places on the handmade paper that had a lot of wear.

Back-side condition of one of the Echizen Kozo prints
Echizen Kozo on the left, Shin Torinoko on the right.

The Shin Torinoko held up comparatively well. It is just as thick and cushy to print on, but I guess some are suspicious of its pulp content and fear it won’t last as long. Here is a square-on shot of both back-sides, handmade paper on the left:

So you probably want to see what the final prints look like. First, here are a few of the Shin Torinoko prints, followed by a set of their brothers on handmade, Echizen Kozo paper. I was aiming for uniformity, and I think the bottom row was more successful than the top.

…. and a few details:

The left is on the handmade paper, and the right is on the machine-made. Both reveal a problem in my printing: I printed the key block last, and I used some pretty serious pressure in the earliest impressions — like the first one, in yellow. See how the yellow intrudes on the bottom line of the steak, and interrupts the upper right corner? This is not because there is a flaw in the key block — it’s because the paper is soft and squishy, and the yellow compressed it so much that the key block can’t get a complete impression! There are signs of this on the left, too, in the unevenness of the outline of the leg, and in the intrusion of the deep blue green into the mostly vertical outline of the rightmost stone. I almost want to blame the paper — I feel like strong pressure is needed to get a smooth, complete impression, so maybe a paper that is less yielding would give a better result.

Here are the impressions, in order. There are 6 blocks total:

  1. Yellow Ochre (block 1)
  2. Permanent red deep (block 2)
  3. Emerald green (block 2)
  4. Dark gray 1 (dilute sumi) (block 3)
  5. Light gray (neutral tint) (block 4)
  6. Cobalt turquoise (block 5)
  7. Brown + sumi + a little permanent red on the waterline and the rocks immediately above and their reflection (block 5)
  8. Another round of dark gray (dilute sumi) on the handmade paper and some of the others, because they were too pale (block 3)
  9. Olive green (bokashi on the water, complete impression on vegetation) (block 2)
  10. Key block (block 6)
  11. Mystery pale brown bokashi on top and bottom (block 4)

I want to enter this print in the upcoming Awagami Mini Print 2019 Exhibition, so now I need to do it all again on A4 paper.