
I need to re-do the takenokawa on this one.

Really, it’s time to take care of this.
I was able to watch a very useful video by Terry McKenna that shows all the steps, and I have the needed supplies, so there’s no excuse! I will present notes on my experience and some pictures, but this won’t be a “how-to” because I didn’t capture enough details. If you need more complete information, please watch Terry’s video.
Awhile back I had ordered some replacement “bamboo skins” from McClain’s in Portland. I have three; I just pulled the first one out and went with it. I kind of expect to ruin the first one, so why be picky?
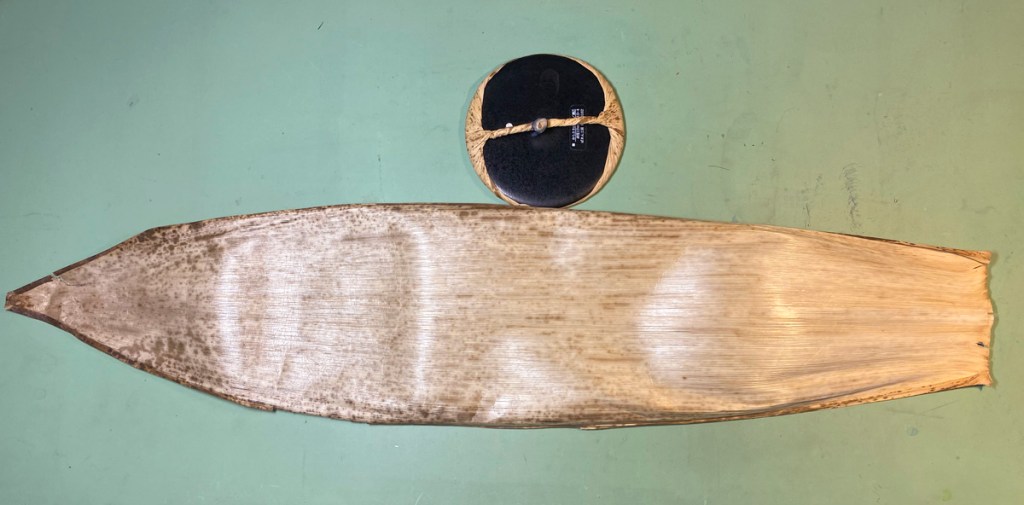
Lots more spots on this one, compared to the old cover! Also, it looks gigantic.
First order of business: Disassemble the old cover.
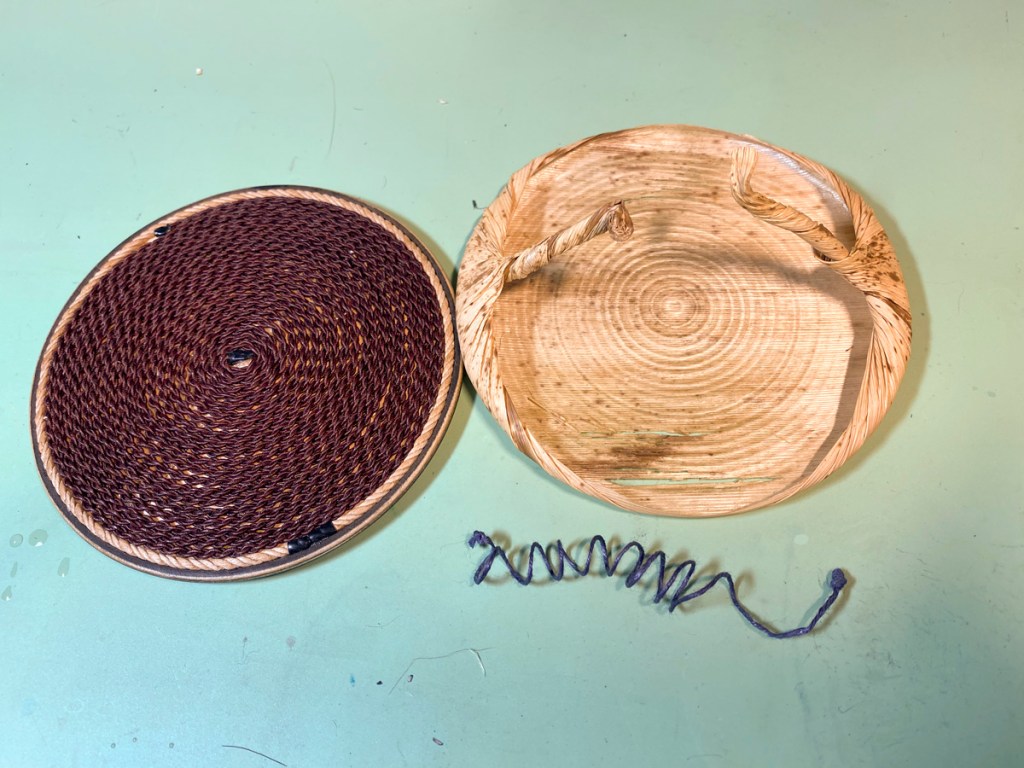
This was a useful exercise, because I could tell how the string was positioned to start, and how it was tied off. If you do this at home, DON’T CUT THE STRING! You will need it to tie off the new cover.
I’ve seen videos and pictures of other baren disassembled, and the inner coil was removable. I wanted to remove the coil in mine and place a paper disk or two underneath it, to make it less flat and slightly dome-shaped. But this one appears to be glued in. I pried a little, but didn’t want to do damage so did not force it.
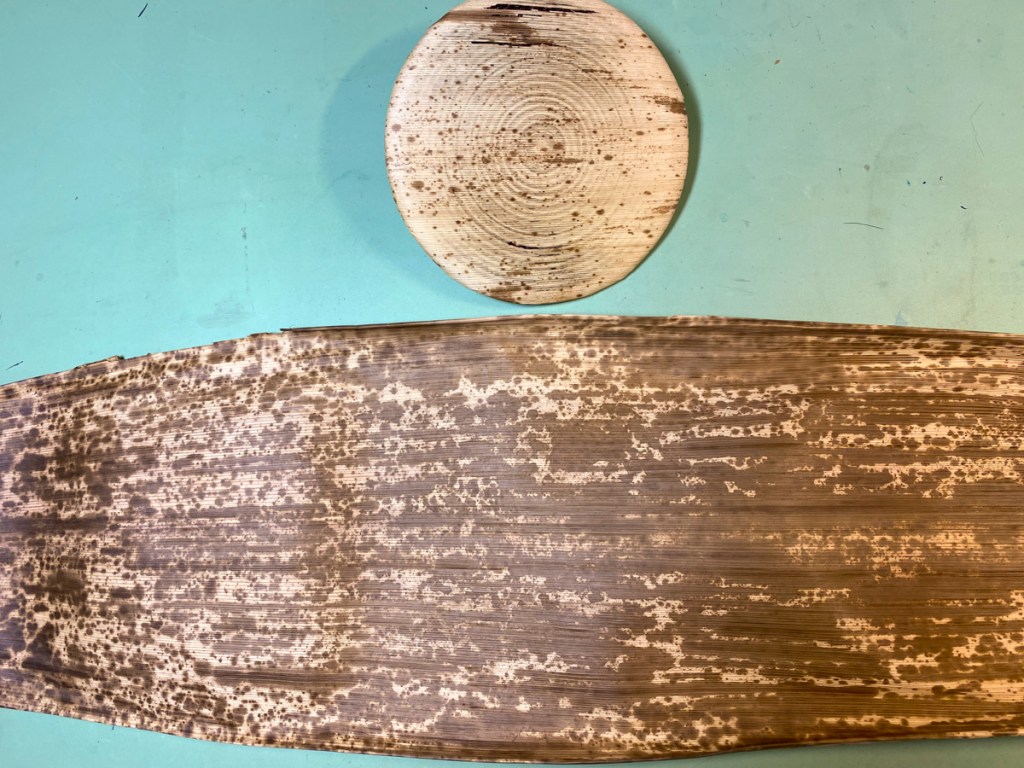
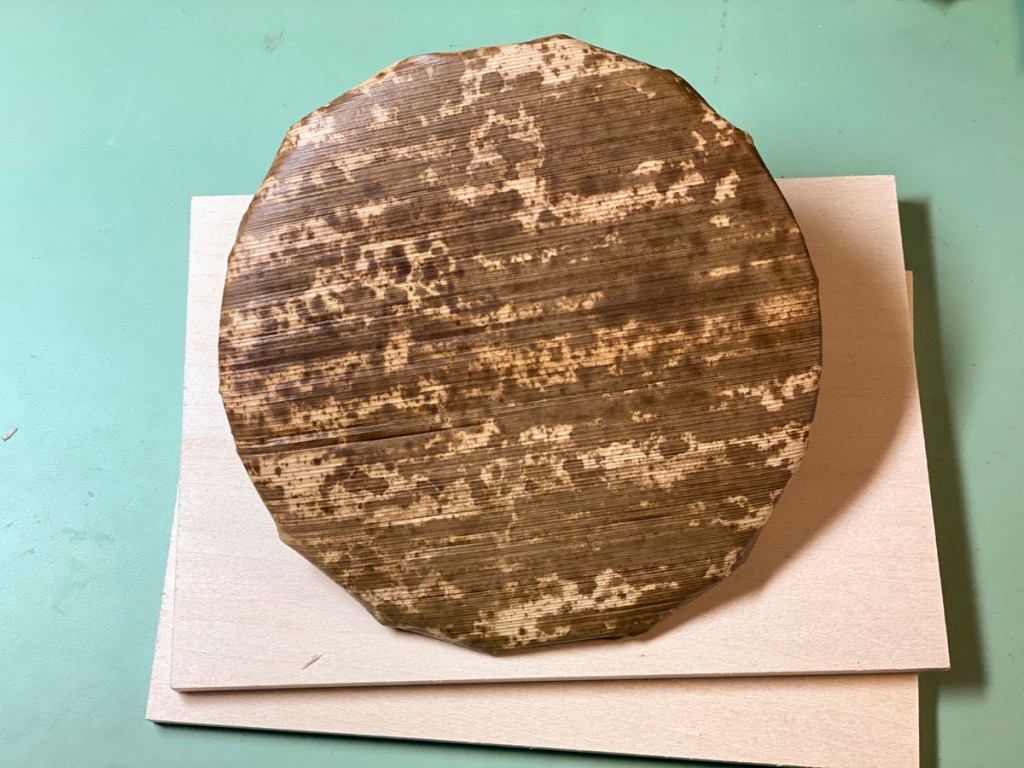
Next task is wetting the new skin, and rubbing it to make it more pliable.
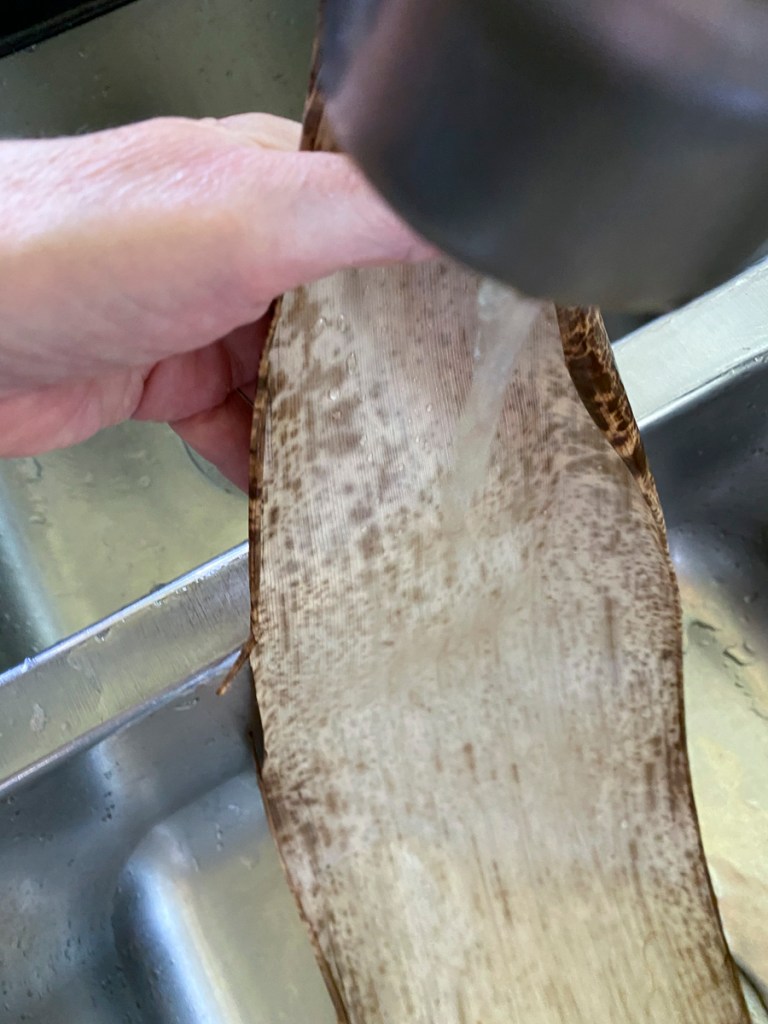
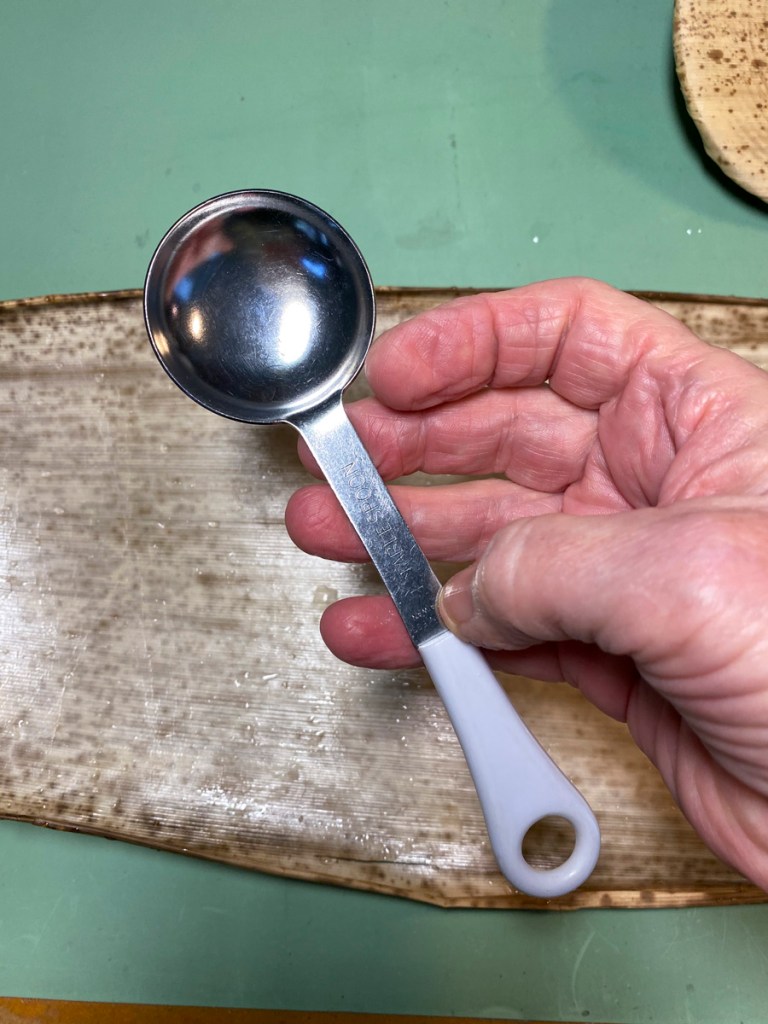
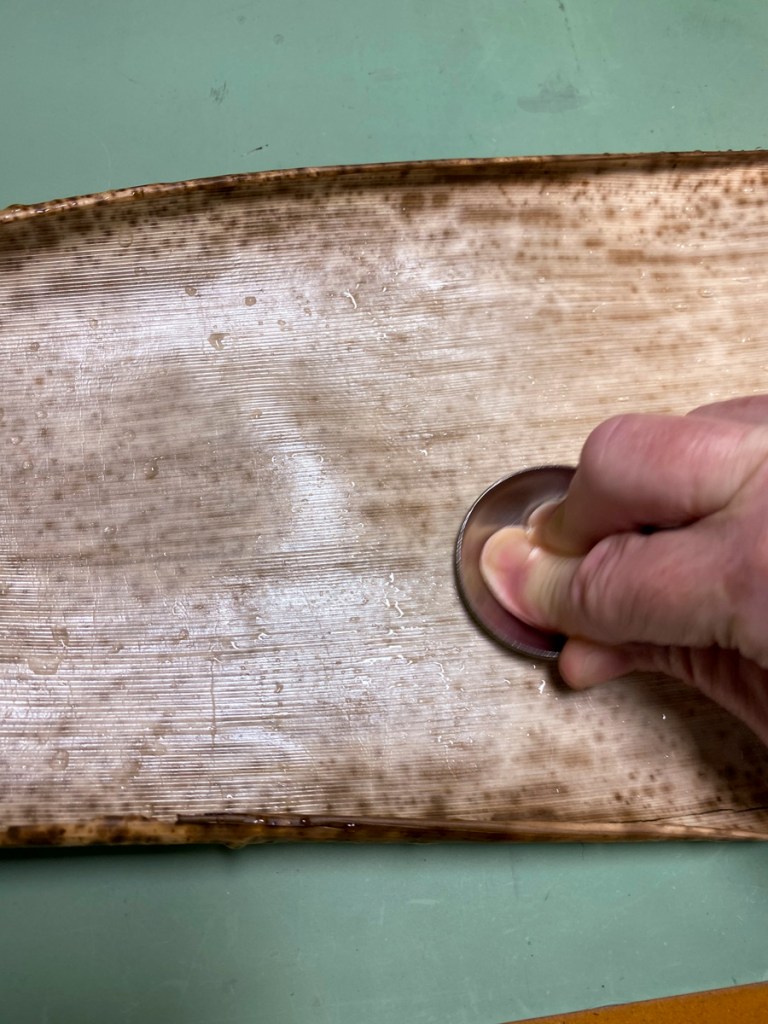
Traditionally, one would use a smooth black rock to rub the skin while supporting it on a plank of yamazakura wood. I thought a tablespoon would work pretty well! I rubbed at 90 degrees over most of the surface, on back and front, and periodically wiped parts of the skin with a wet paper towel when they were drying out.
After cutting part of the widest end away, and tearing off the curled edges on the sides (about 1/4″ or so) , I started wrapping the skin.
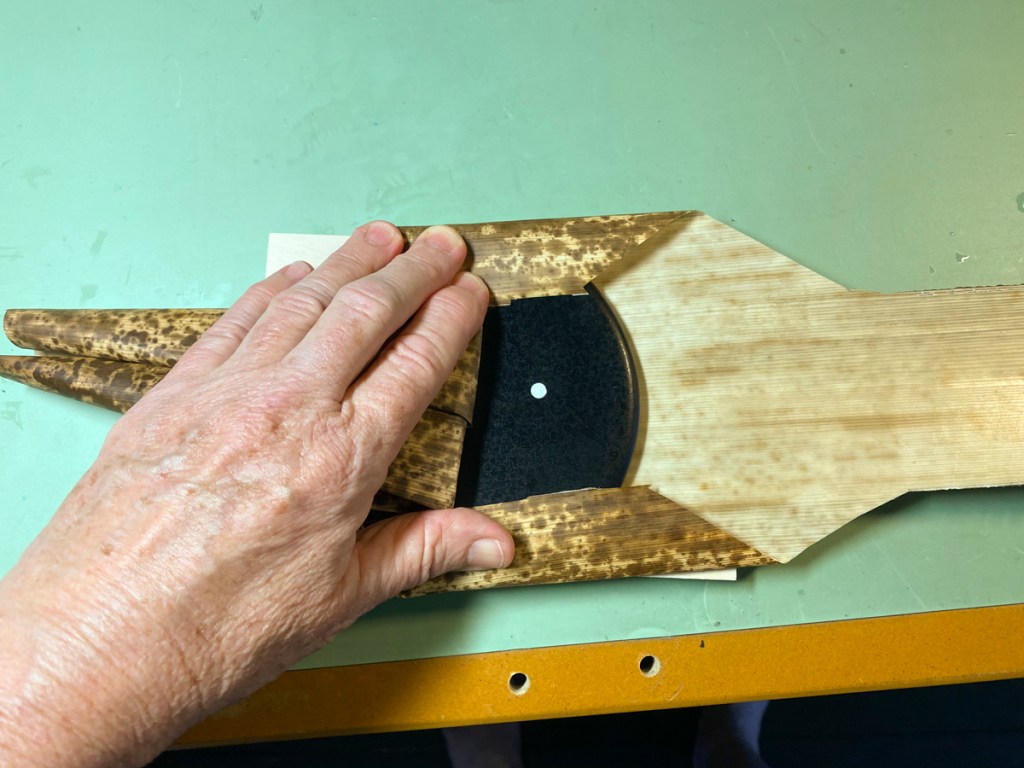
At this point, both hands were pretty occupied, so I don’t have any shots until I had it wrapped and tied!
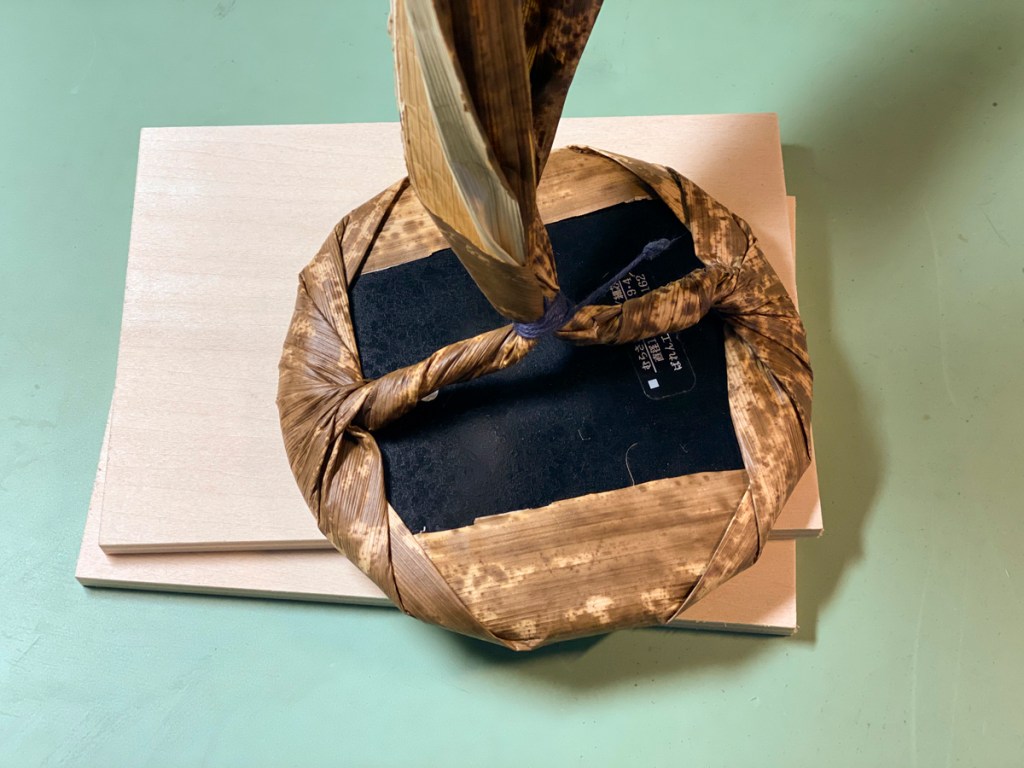
Looks pretty rough. I’ll do some trimming…

Here’s the business end:
It’s good and flat, and reasonably tight. Here’s a comparison to the old cover:
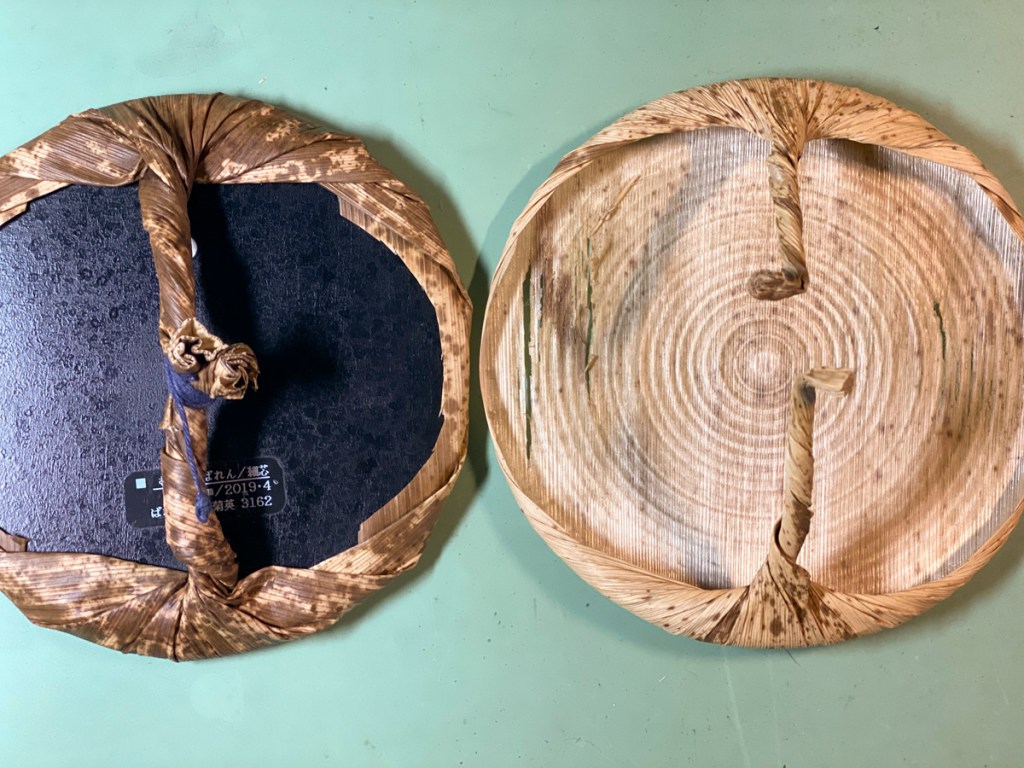
So, success? The proof will be in the printing. The new cover is obviously made from much thicker material than the old cover was made from. The coil on this baren is “fine”, and intended to be able to reveal fine details, but the cover is so thick that it might prevent the thin ridges on the inner coil from making themselves known to the print. I will have to try printing with it and see how things go. If it works well, the thickness might be a good thing – it will probably last longer than the old one!
I have two takenokawa left; one of them seems to be a little more delicate in consistency, but not by much. If I have trouble with the new cover, I can try using the thinner skin, but I might need to find a different supplier.
